


Did you know a proper mulching strategy can slash your garden’s water needs by up to 70%? It’s like giving your plants a smart water-saving device and a protective force field all in one! Whether you’re a seasoned gardener or just getting your hands dirty, mulch will become your new best friend in the battle against thirsty plants and sneaky weeds.

Think of mulch as your garden’s superhero cape – it fights water waste daily and keeps weeds at bay by night. Ready to transform your garden into a water-wise wonderland while saying goodbye to those pesky uninvited plant guests? Let’s dive into the mulch-tastic world of smart gardening! ????
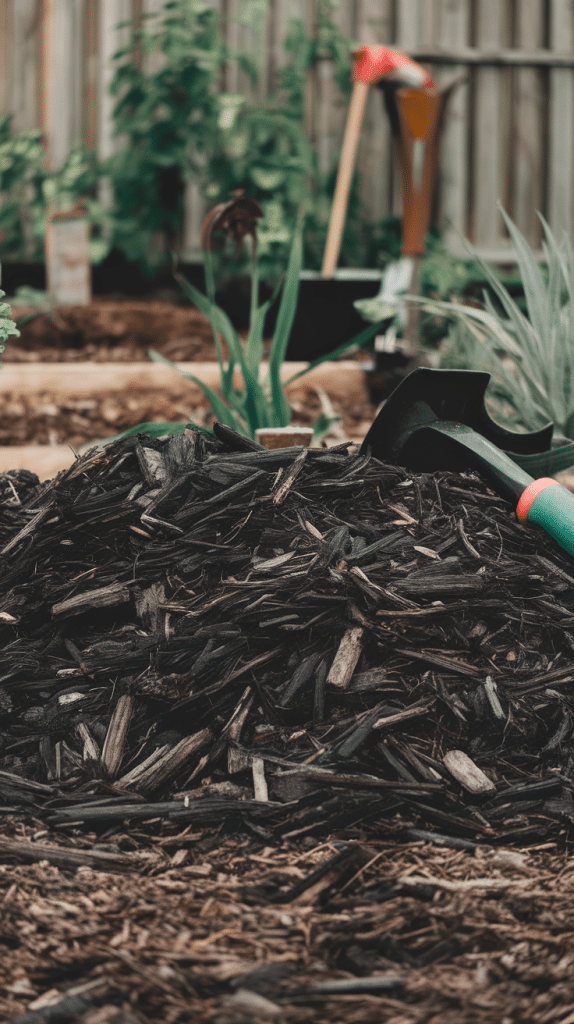
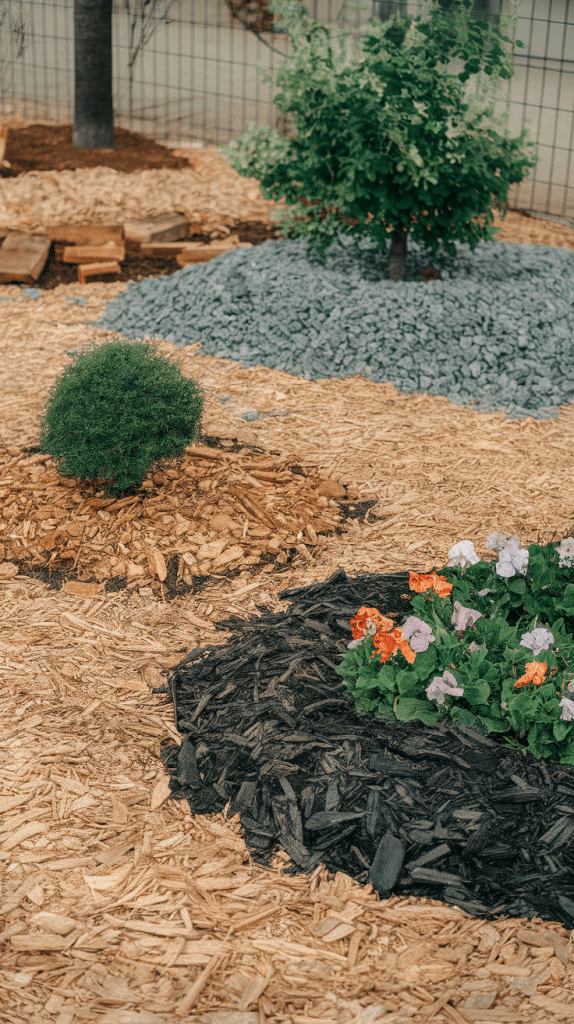
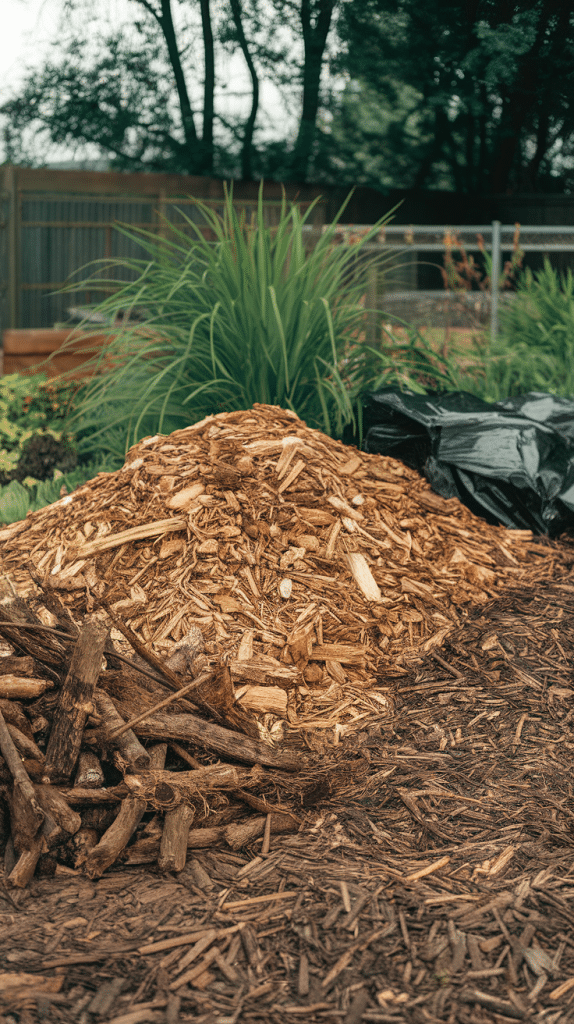
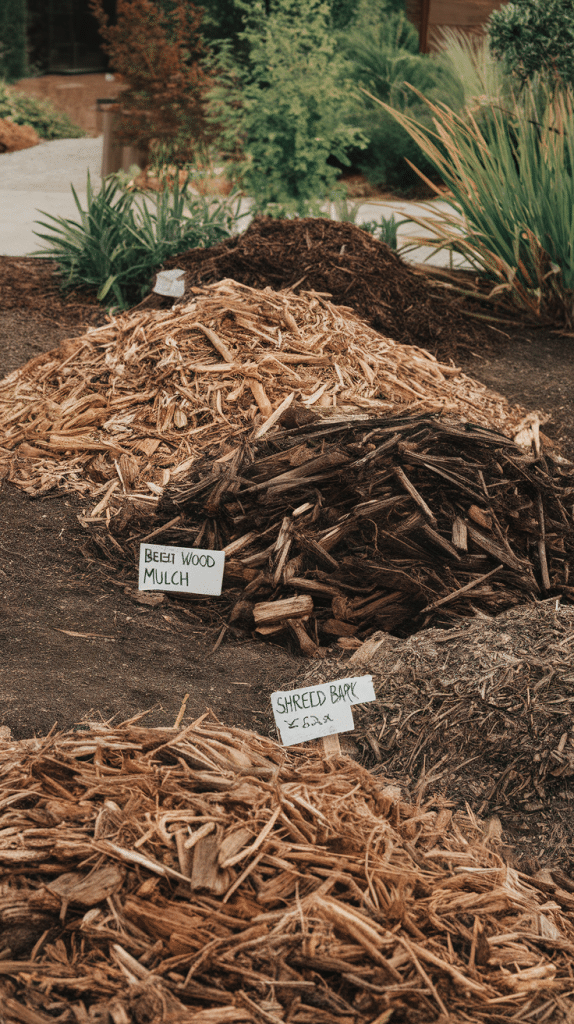
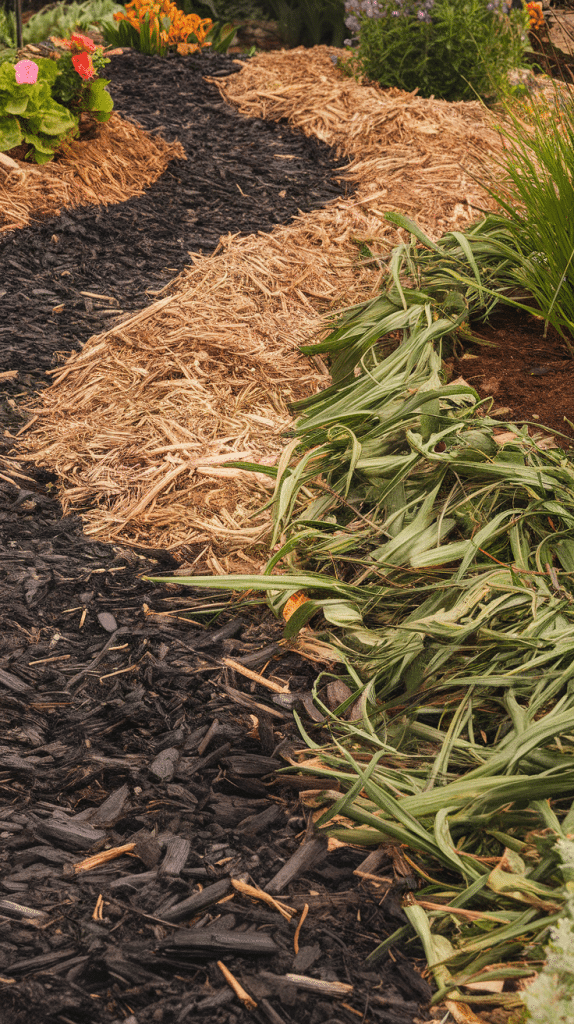
Choose the Right Type of Mulch
Think of mulch as your garden’s cozy blanket – it comes in different styles for different needs! ????
Let’s break down your options:
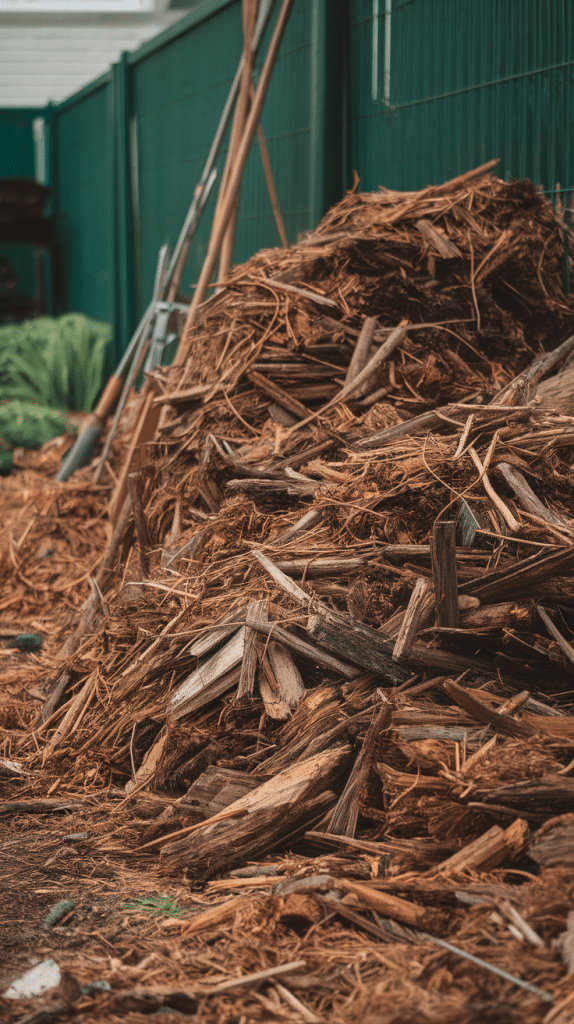
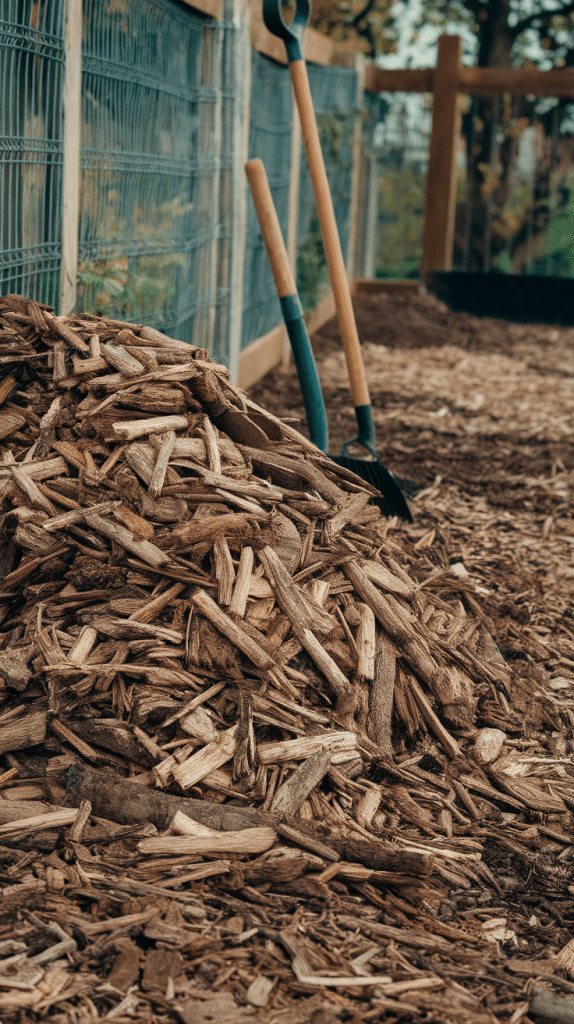
Organic Mulches:
- Mulch like bark and wood chips are perfect for long-lasting moisture control
- Straw and leaves are great for vegetable gardens
- Grass clippings are free and readily available
Inorganic Mulches:
- Gravel and pebbles are ideal for desert landscapes
- Landscape fabric works well under stones
Here’s the fun part: organic mulches are like nature’s slow-release vitamins for your soil! As they break down, they make your soil better and better. Meanwhile, inorganic mulches are like that reliable old sweater – they stick around forever but don’t add much pizzazz to your soil.
Pro tip: Go for coarse wood chips in dry areas – they are like tiny water reservoirs for your plants! ????
Apply Mulch at the Proper Depth
Think of mulch depth like making the perfect sandwich – too little filling and unsatisfying; too much, and it’s impossible to eat! ????
The sweet spot? About 2-4 inches thick. Here’s why:
- Too thin (under 2 inches): Weeds pop through like unwanted party crashers
- Too thick (over 4 inches): Your plants might suffocate (nobody wants that!)
- Just right: Keeps moisture in and weeds out
Want to get it perfect? Here’s a garden hack: Use a ruler while spreading mulch, or mark the 4-inch point on your garden trowel with bright tape. Think of it as your mulch measuring buddy! ????
Remember to check your mulch depth each spring and fall. When it starts looking thin (like a bad haircut), add a fresh layer to return it to that perfect 2-4-inch range.
Create a Mulch Ring Around Trees and Shrubs
Picture your tree trunk like a turtle’s neck – it needs breathing room! ????
Here’s how to mulch a tree ring around your trees:
- Start 3-6 inches from the trunk (give it personal space!)
- Spread mulch outward to where the branches end
- Make it thicker at the edges (2-4 inches) and thinner near the trunk
Think of it as a cozy blanket fort for your tree’s roots – but with an open roof! This setup helps:
- Keep roots cool and moist
- Stop grass from stealing water and nutrients
- Protect roots from lawn mower accidents
Pro tip: Want to check if you’ve got it right? Your mulch ring should look like a donut, not a volcano! ???? Those mulch mountains against tree trunks are big no-nos – they’re like wearing a wet turtleneck 24/7 (hello, bark rot!).
Use Newspaper or Cardboard as a Base Layer
Want to stop weeds in their tracks while saving money? Time to raid your recycling bin! ????
Here’s a garden hack that’s as easy as Sunday morning:
- Lay down 4-8 sheets of newspaper (or one layer of cardboard)
- Sprinkle water on top to keep everything in place
- Add your regular mulch on top
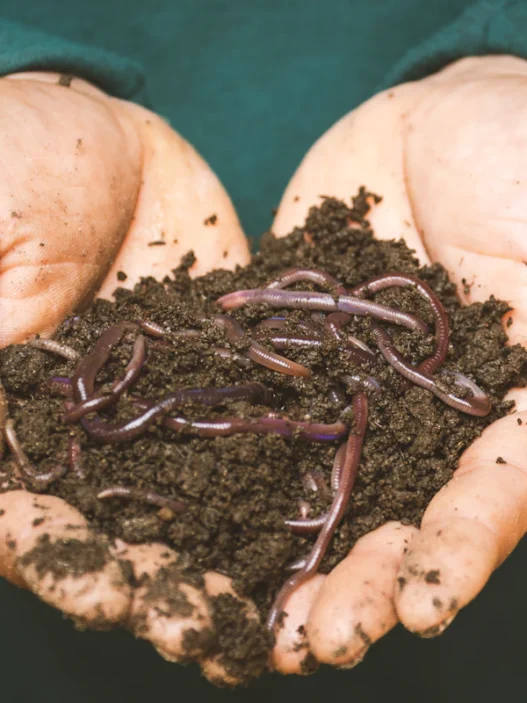
Think of it as making a garden lasagna – these paper layers work like a force field against pesky weeds! Plus, earthworms love munching on cardboard and newspaper, turning them into rich soil goodness. ????
Pro tip: Before you start, grab the boring sections of the newspaper (sorry, comics are too fun to waste!). And remember to remove any tape or staples from cardboard – they’re like party poopers at your soil improvement party!
Bonus? You’re giving junk mail and old Amazon boxes a second life while making your garden happy. Now, that’s what we call a win-win! ????
Mulch Vegetable Gardens with Organic Materials
Your veggie garden wants to dress up in natural fibers only! ????
The best mulch choices for your vegetables:
- Straw (the classic choice!)
- Shredded leaves (autumn’s gift to gardeners)
- Chemical-free grass clippings (fresh from your lawn)
Layer these materials 2-3 inches deep around your growing veggies, but keep them from touching the plant stems – think of it as giving your plants a little breathing room!
Watch out! Fresh wood chips are like that friend who takes all the attention – they’ll grab nitrogen from the soil your veggies need. Stick with well-aged chips if that’s all you have.
Need to keep the moisture party going all season? Top up your organic mulch whenever it starts looking thin. Your vegetables will thank you with a bumper crop! ????
Pro tip: Pat yourself on the back – you’re feeding your soil while saving water. That’s some next-level gardening magic!
Apply Mulch After Thorough Watering
Think of watering before mulching, like putting on moisturizer before sunscreen – it locks in all that good stuff! ????
Here’s your pre-mulch game plan:
- Soak your garden bed deeply (we’re talking shower, not sprinkle!)
- Wait until the soil feels like a wrung-out sponge
- Then, lay down your mulch
Why does this matter? Mulching dry soil is like putting a lid on an empty cookie jar—there’s nothing good to keep inside. It’s like trapping a mini rainforest under your mulch!
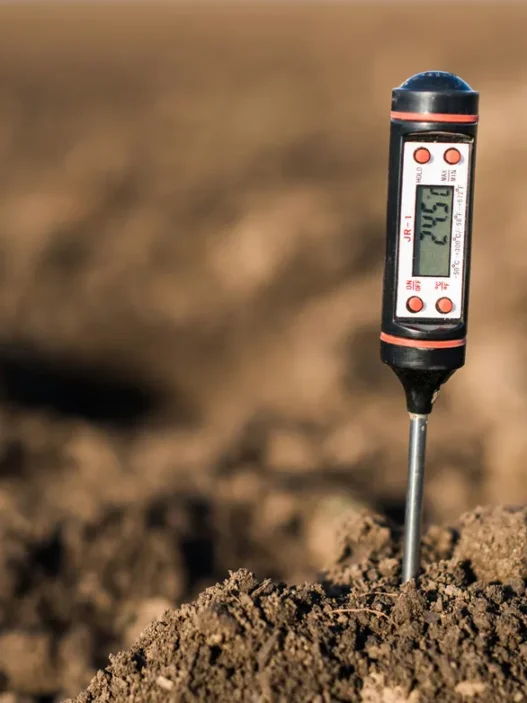
Pro tip: Not sure if your soil is ready for its mulch blanket? Do the squeeze test! Grab a handful of soil – it should form a loose ball that breaks apart easily. If it’s too wet, it’ll be mud-pie sticky; too dry, and it’ll be powder-party time! ????
Remember: Happy soil = happy plants, so give them a good drink before tucking them in under their cozy mulch cover! ????
Refresh Mulch Annually
Think of mulch like your wardrobe – it needs a seasonal update to stay fresh and functional! ????
Just like last season’s fashion, organic mulch breaks down over time. Here’s how to keep your garden’s style on point:
Spring and fall check-up time:
- Measure your mulch depth with a ruler
- Look for signs of decomposition (faded color, crumbly texture)
- Watch for matted or compacted areas
When it’s time for a mulch makeover:
- Remove old, matted layers if they’re getting chunky
- Add fresh mulch to maintain that perfect 2-4 inch depth
- Spread evenly around your plants
Pro tip: Mark your calendar for bi-annual mulch checks – consider it your garden’s spring cleaning and fall fashion update! Your plants will strut their stuff with better moisture retention and fewer weedy party crashers. ????
Avoid Volcano Mulching
Ever seen a tree looking like it’s wearing a mulch mountain? That’s volcano mulching, and it’s like putting a wet sock around your tree trunk 24/7! ????
What not to do:
- No cone-shaped piles against tree trunks
- Skip the mulch mountains that look like mini volcanoes
- Avoid direct contact between mulch and bark
Instead, make your mulch a tree ring:
- Leave a 3-6 inch gap around the trunk (let it breathe!)
- Keep mulch 2-4 inches deep at the outer edge
- Taper it down to soil level near the trunk
- Spread it out to where the branches end
Think of it this way: trees want a cozy blanket for their roots, not a turtleneck sweater for their trunk! When mulch hugs the bark, it’s like inviting rot and bugs to a party where your tree is the snack. ????
Pro tip: If your mulch looks like a volcano, it’s time for a landscaping makeover! Your trees will thank you for staying healthy and happy. ????
Use Landscape Fabric Under Inorganic Mulches
Think of landscape fabric as your garden’s security blanket – it keeps the troublemakers (hello, weeds!) out while letting the good stuff (water and air) through! ????
Here’s your game plan for fabric success:
- Roll out the fabric over weed-free soil
- Cut X-shaped holes where plants will go
- Pin it down with garden staples
- Top with gravel or stones
Pro tip: When planting through the fabric, make your X-cuts just big enough for the plant – no need to create a weed-sized welcome mat!
While fabric works like a charm under stones, remember it’s not perfect for every garden situation. Over time, it may be harder for your soil to upgrade its natural goodness. Think of it as a long-term commitment—once it’s down, it’s there to stay!
Fun fact: Some gardeners call landscape fabric “weed cloth,” – but we know it’s more like a bouncer for your garden party! ????
Consider Living Mulches for Some Areas
Want to take your mulching game to the next level? Meet living mulches – they’re like having tiny groundskeepers working 24/7 in your garden! ????
Your best plant pals for the job:
- Creeping thyme (smells fantastic when you walk on it!)
- White clover (bees love this one!)
- Sweet woodruff (perfect for shady spots)
These green champions do double duty:
- Block weeds like tiny bouncers
- Hold moisture in the soil
- Add nutrients as their leaves drop
- Create homes for helpful bugs
Pro tip: Match your living mulch to your main plants – you don’t want these helpers turning into garden bullies! Think of them as roommates – they must get along with your existing plants. ????
Just remember: Living mulches need a bit more TLC at first, like regular weeding and watering. But once they’re settled in, they’re like the gift that keeps giving – spreading naturally and making your garden prettier by the day! ????
Time Mulch Application Strategically
Timing your mulch like a gardening DJ – it’s all about hitting the right beat! ????
Spring mulching tips:
- Wait until the soil warms up (usually late spring)
- Check soil temperature – when tulips bloom, it’s time!
- Perfect for prepping summer growth
Fall game plan:
- Add a fresh layer before winter hits
- Helps protect roots from freeze-thaw cycles
- Think of it as tucking your garden into bed
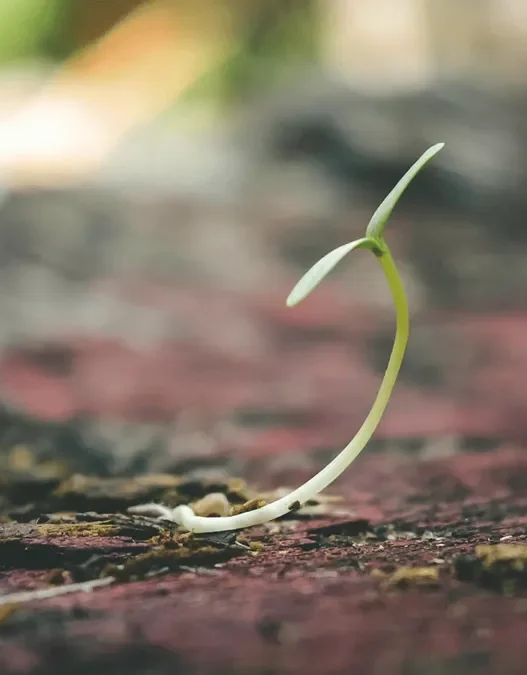
Skip mulching when:
- Soil feels like a wet sponge
- Heavy rain is in the forecast
- Plants are tiny seedlings
Pro tip: Add mulch before summer heat waves strike – it’s like giving your plants a cool drink before a hot day! Your timing can make the difference between happy plants and stressed-out stems. ????
Remember: A well-timed mulch layer is like giving your garden a seasonal spa day – right when it needs it most! ????
Combine Mulching with Other Water-Saving Techniques
Make your garden a water-saving superhero by pairing mulch with these trusty sidekicks! ????
Mix and match these water-wise buddies:
- Install drip lines under the mulch (like a secret underground water network!)
- Set up rain barrels to catch nature’s free watering service
- Create mulched basins around plants to catch every precious drop
- Plant drought-tough varieties that sip instead of gulp
Think of it as a water-saving team: mulch keeps moisture in while drip irrigation delivers water right where it’s needed. It’s like having a smart sprinkler system that works with nature, not against it! ????
Pro tip: Want to level up your water game? Add some swales (fancy word for shallow ditches) filled with mulch. They’ll catch and hold water like mini oases in your garden. Your plants will feel like they’re at a spa resort! ????
Remember to tuck those drip lines under your mulch – they’ll last longer and work better when they’re not sunbathing!
Use Mulch in Container Gardens
Container gardens need mulch love, too! Think of it as a mini version of your garden’s mulching magic. ????
Here’s how to mulch your potted pals:
- Add a light 1-2 inch layer (containers need less than garden beds)
- Pick small-sized types of mulch like mini wood chips or coco coir
- Keep mulch away from plant stems
Your containers will thank you with the following:
- Less frequent watering needs
- Steady soil temperatures
- A polished, pretty look
- Fewer uninvited weed guests
Pro tip: For container gardens, think lightweight! Heavy mulches can make your pots too weighty to move around. Mini bark chips or straws work great for most container setups. ????
Remember to top up your container mulch more often than garden beds – those small spaces dry out faster! A monthly mulch check keeps your potted plants happy and hydrated. Think of it as giving your container garden a regular spa day! ????
Apply Mulch on Slopes to Prevent Erosion
Got a sloping garden that likes to slip and slide? Let’s turn that hillside into a stable paradise! ????
Best mulches for slopes:
- Chunky wood chips lock together like puzzle pieces
- Heavy gravel stays put when the rain hits
- Shredded hardwood creates a natural mat
Layer it right:
- Start with 3-4 inches
- Work from bottom to top
- Pat it down gently as you go
For super-steep spots:
- Add erosion control netting under your mulch
- Create mini-terraces with rocks or timber
- Build shallow steps in the mulch
Pro tip: Think of mulching a slope like making a blanket fort – you want everything to stay snug and cozy! For extra stability, try planting ground covers between your mulch layers. They’re like tiny anchors holding everything in place! ????
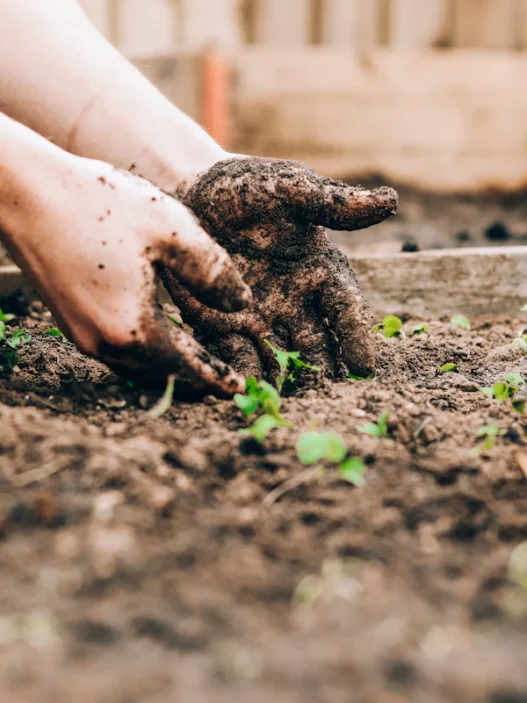
Incorporate Compost into Your Mulching Routine
Want to give your garden a nutritious sandwich? Let’s make a tasty layer cake with compost and mulch! ????
Here’s your recipe for success:
- Spread 1-2 inches of compost as your base layer
- Top it with your favorite types of mulch
- Mix and match materials for maximum benefits
This dynamic duo works like this:
- Compost feeds your soil with yummy nutrients
- Mulch keeps that goodness locked in
- Together, they hold water like tiny sponges
- Your plants get a five-star buffet of benefits!
Pro tip: Think of compost as the chocolate chips in your cookie – a little extra something that makes everything better! Add a fresh compost layer each spring when you’re topping up your mulch. Your garden will feel like it’s getting a fancy spa treatment! ????
Remember: Happy soil = happy plants and this combo is like giving your garden its favorite comfort food! ????
The Final Layer: Your Mulching Success Story
Congratulations! You’re now armed with all the mulch-mastery secrets to transform your garden into a water-saving, weed-fighting paradise. Whether you choose wood chips, straw, or living mulch, consistency and proper application are key. Think of it as building a cozy, protective fortress for your plants that works 24/7 to keep them happy.
Ready to roll up those sleeves and get mulching? Your plants are about to thank you with lusher growth, fewer weeds, and a significantly smaller water bill. Now, that’s what we call a garden glow-up! ????