

Let’s go to wonderland for a minute.
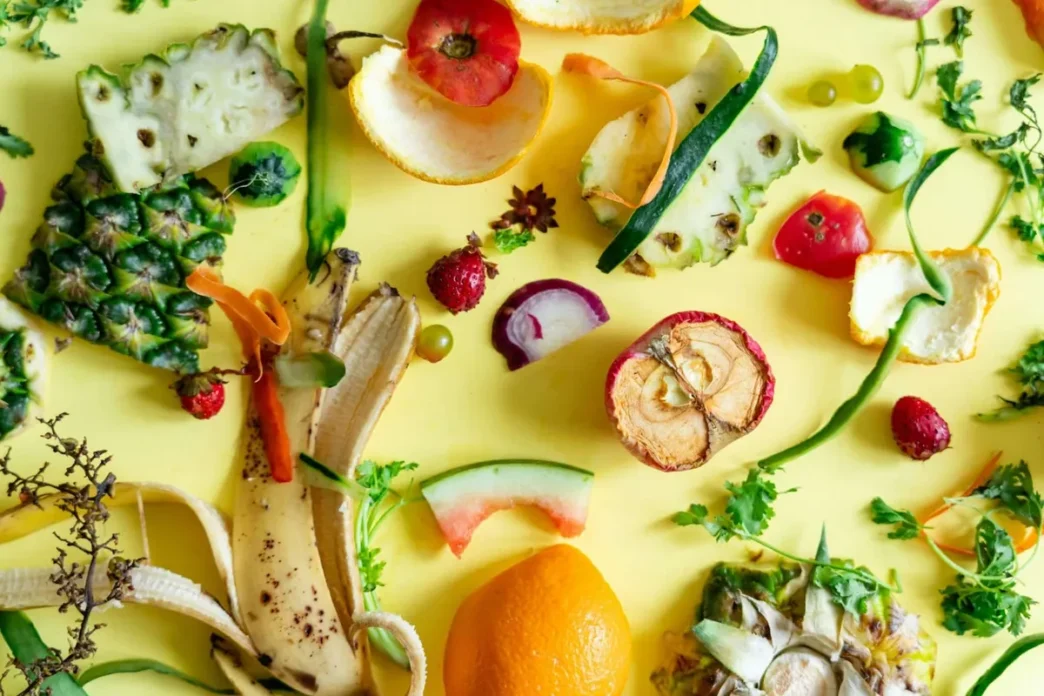
Your kitchen scraps. Imagine they are not just destined for a slow, stinky death in a landfill out there somewhere. Imagine that they are instead embarking on a hero’s journey, transformed into nutrient rich compost, that helps your plants grow healthier. Composts, from kitchen scraps, are one of the most effective ways to both reduce waste and also growing healthier plants. They give your plants an all access ticket to a buffet of nutrients they need.

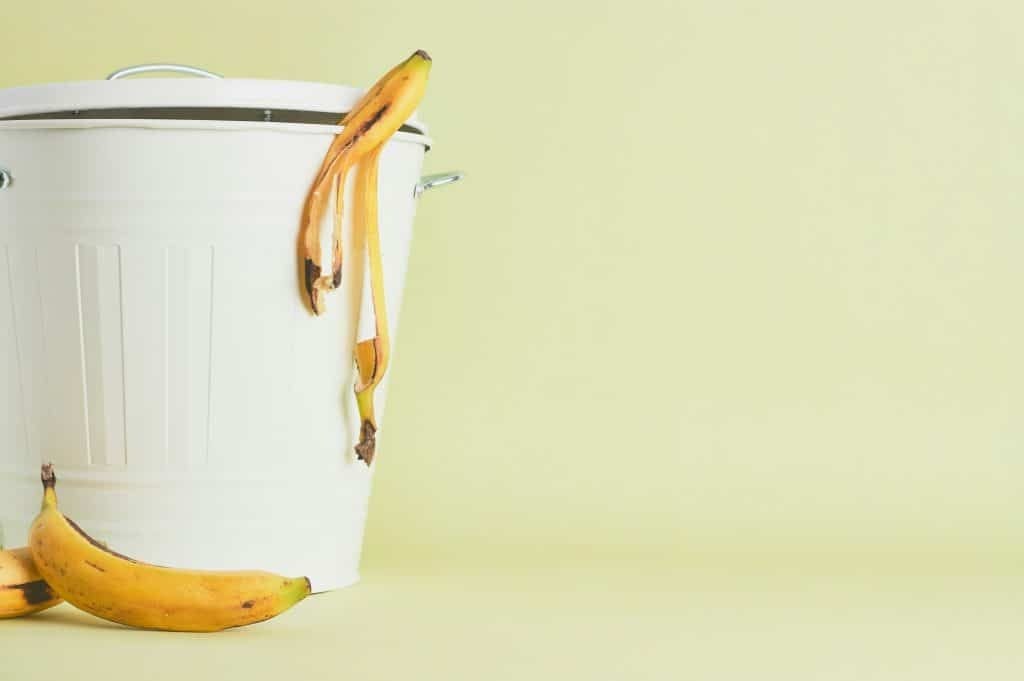
According to the Environmental Protection Agency (EPA), a staggering 30% of what we throw into the trash could be composted.
This means we get to have less landfill waste (yay the planet!), fewer greenhouse gas emissions, and more nutrient-rich material to go around. You also get to reduce the need for chemical fertilisers and turn your leftover veggie scraps into the ultimate recycling project. There are three major composting methods we will look into in this article while also going through the major steps of building a great composting setup:
Choosing the Right Composting Method for Small Space
The first step in building the right composting setup is to pick the right system (or method) for your living situation. Backyard traditional composting can accommodate large piles and needs room for air circulation, so we have more wriggle room to work with when it comes to selecting the best composting system for our setup. Composting is a smaller, indoor space is different though. It focuses on compact, efficient systems that can work in your space without causing odours or attracting pests.
Worm Composting (Vermicomposting)

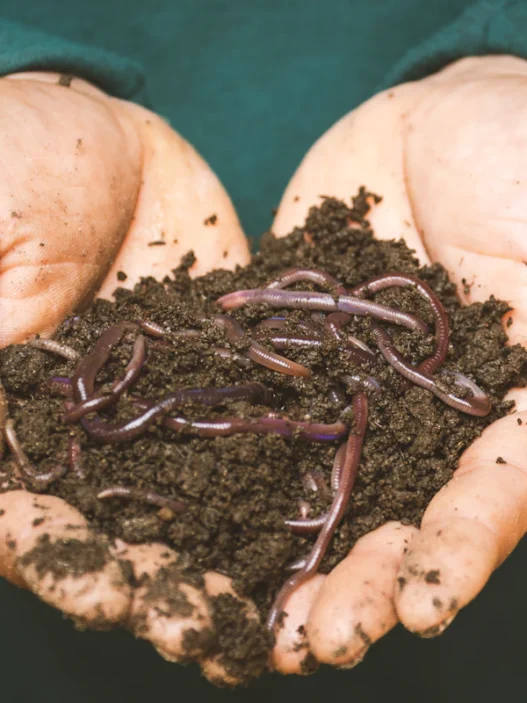
This involves using earthworms – typically red wigglers – to break down food scraps into nutrient rich compost. Earthworms are natural composters and because of this characteristics, they can easily eat through organic waste quickly, reducing the volume of the waste by up to 80%.
To make this work, place worms in a bin (the worm bin) layered with beddings on the inside to help maintain moisture. When you add food scraps to this worm bin, the worms convert them into worm castings (or worm poop if you like to say it like it is). These worm castings are great fertilisers that are incredible for plant growth.
Pros:
- Space Efficiency: The worm bins can be small and compact so they are able to fit perfectly in your available tiny space.
- Odour Control: Avoid adding too much food at once, keep the bin moist (but not soggy) and it will not smell
Cons
- Temperature Sensitivity: Extreme temperatures are not good for worms – they are sensitive to it. You need to put your worm bin in a spot where it’s not too hot or too cold.
- Special Care Needed: Worms do require a bit of upkeep, like keeping them fed without overloading the bin
Bokashi Composting
Bokashi is a Japanese method that relies on a fermentation process. It is also ideal for small spaces, it’s odour free, fast (just like worm composting) and can even break down foods that traditional composting can’t handle.
You would use an airtight container sprinkled with “Bokashi bran”. The bran goes to work fermenting the food scraps and turns them into a nutrient-dense “pre-compost” in about two weeks. You can now either bury this pre-compost material in soil or add it to another composting system to finish the decomposing process.
Pros
- Compact: The use of an airtight container makes this method compact and it does not require turning or aeration
- Odour Free: Since the container is airtight (oxygen free), Bokashi composting doesn’t produce the same odours that aerobic composting produces.
- Versatile: Bokashi can handle all kinds of food scraps that other composting methods typically avoid.
Cons
- Need for Soil or Additional Composting: The “pre-compost” it creates still needs to be buried or further composted in soil to fully break it down.
- Ongoing Bran Cost: You need to regularly purchase the Bokashi bran used in this process.
Electric Composters
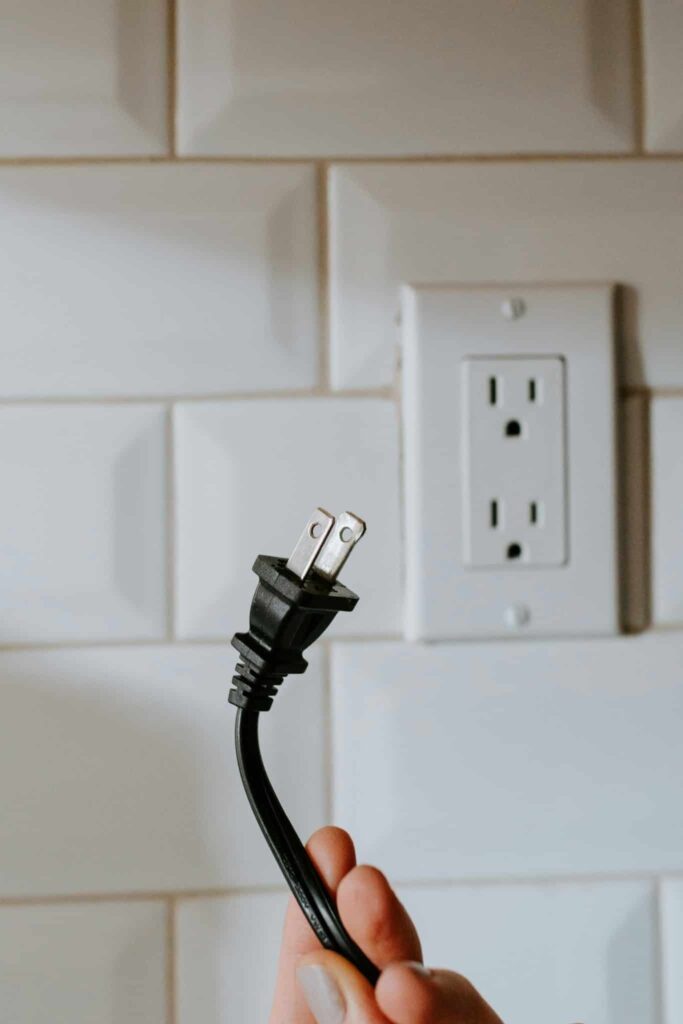
The new kids on the block when it comes to small space composting. These machines use electricity to break down food waster quickly, usually in a few hours. The fact that they are compact and automatic makes it ideal for people who want a low-effort solution that doesn’t require worms, bins, or Bokashi brans.
Basically, these composters grind the food scraps into small particles and then heat them up to speed up the decomposition process. While they don’t necessarily produce compost in the traditional sense, what they produce – the ground and heated up particles – are a soil like material that can be used as natural fertiliser.
Pros
- Fast: They can break down food in as little as 3-24 hours
- Convenient: They’re simple to use, require minimal maintenance and some brands are small enough to fit right on your kitchen counter
- Odour Control: Most models come with built-in filters. These filters helps to keep odours to an absolute minimum
Cons
- Expensive: They tend to be on the pricier side – at least a few hundred dollars
- Energy Use: Because they’re electric they might not be the most suitable option for everyone, especially those trying to cut back on electricity consumption
What’s The Best Option For You
Well, to choose the best option for your composting needs, you need to consider some factors like your available space, the types of food waste you generate and also very important, the level of maintenance you’re willing to handle.
To make this decision easier for you, I have provided a table below that summarises the requirements for each composting method. Go through it, compare, and decide on what the best option is for your specific situation:
| Method | Ideal For | Setup Space | Time | Odour Control |
| Vermicomposting | Small Kitchens, worm-friendly | Compact | Medium | High |
| Bokashi | Compact and meat-friendly compost | Very Compact | Fast, 2 weeks (pre-compost) | Odour free (provided container is airtight) |
| Electric Composters | Convenient but high cost for users | Counter Space | Very fast, a couple of hours | Odour free |
Set Up Your Small Space Composting System
Now you need to actually set up your composting system. The best composting setup for your fits into your space, works for the types of food waste you generate, fits with the level of maintenance you are willing to handle, and most importantly is odour free.
Vermicomposting Bin Setup

Requires a bin that provides darkness, a little bit of moisture and sufficient air circulation. These three things are crucial to the well being of your worms.
For your bin setup, you can use a 5 to 10 gallon plastic container as it works well for most households, although some people prefer pre-made worm bins as these come with tiered layers that make it easy to separate compost from the worms when it’s ready. Avoid using metal containers as they can leach into the soil increasing the mineral concentration. You can add multiple layers to your bin. Having multiple layers makes it easy to harvest your compost as the worms can easily move across layers when their work is done.
Drill small holes in the lid and sides of your bin to allow air circulation. This helps to prevent odour and also provides oxygen to your worms. If your bin has two layers, drill a few bigger (around 1/4 inch) holes at the bottom of the top layer to make it easy for your worms to move into the bottom layer. You should also have some space between the top layer and the bottom layer – enough to accommodate your worms when they move into the bottom layer.
Create a fluffy and moist base in your container as this is where your worms will live and they love moisture. You can use shredded newspaper shredded paper that has been soaked in water and squeezed dry.
For your worms, Reg Wigglers (Eisenia Fetida) are the most common worms for Worm composting. You should place the worms on top of the bedding and give them a day or two to settle in before adding food scraps.
When you start adding food scraps, bury them in the bedding to help control odours and avoid attracting fruit flies. You should add the food scraps slowly until you see how much the worms can work with. Don’t worry about not being able to add lots of food scraps at the beginning. Because worms multiply pretty quickly, you will have enough worms to handle even larger amounts of kitchen scraps in no time.
You should avoid adding citrus, meat, dairy and oily foods as they can disrupt the composting process and attract pests.
Every few weeks, you should gentry turn the contents to keep the environment aerated and also check the moisture level. If the bin feels dry, spray it with water, and if it’s too wet, add some dry bedding material. If the bedding is used up, you can add more bedding into the bin until the whole bin is full of worm castings.
Bokashi Bucket Setup
You need an airtight container – often called a “Bokashi Bucket”. You can get these online or at garden stores – they come with a spigot at the bottom for draining the compost tea. This liquid (compost tea) is a valuable fertiliser as it contains vitamins and minerals useful as food for plants. You can also create a Bokashi Bucket at home by sealing an airtight container and drilling a small drain hole at the bottom.
Whenever you add your food scraps to the bucket, you need to sprinkle Bokashi bran on the top to ferment the food scraps. Add the scraps in layers, and press them down to remove air pockets. Every time you open the container, always ensure to close the lid tightly – Bokashi composting is virtually odourless as long as the container remains sealed.
Every few days, you should drain the excess compost tea.
After about two weeks of adding food scraps to the bucket, your food scraps will be “pre-composted”. At this stage you have two options. You can either:
- bury the fermented scraps in soil to complete the process, or
- mix them with other composting material.
Which ever option you take, you should give your scraps a few more weeks to become plant-ready compost.
Electric Composter
Essentially, it’s just plug and play so this section will be very short.
Once you’ve acquired your electric composter, place it on a stable surface near an outlet. Add food scraps gradually – avoid adding hard materials like bones. Depending on the model you may need to empty the composter once it’s full or every few days – consult the machine’s manual.
You should always keep an eye out on your composter’s filters to prevent odours and also ensure to clean the machine regularly.
What and What Not to Compost
Now you might be wandering, what is even a good food scrap to compost and what might not be so good or even very bad to compost. In this section, we’ll look at these.
What to Compost
There are two categories of scraps when it comes to composting:
Greens
Food scraps that are high in nitrogen. They are essential for creating a compost environment that encourages bacterial activity and promotes faster breakdown of materials. Greens can be vegetable scraps like carrot peels, onion skins, etc, or fruit peels (be mindful of citrus in worm bins though as they can create an acidic environment which are harmful to your worms). Other types of greens could be coffee grounds, tea bags and loose tea, plant trimming and eggshells (you should rinse and crush your eggshells before adding).
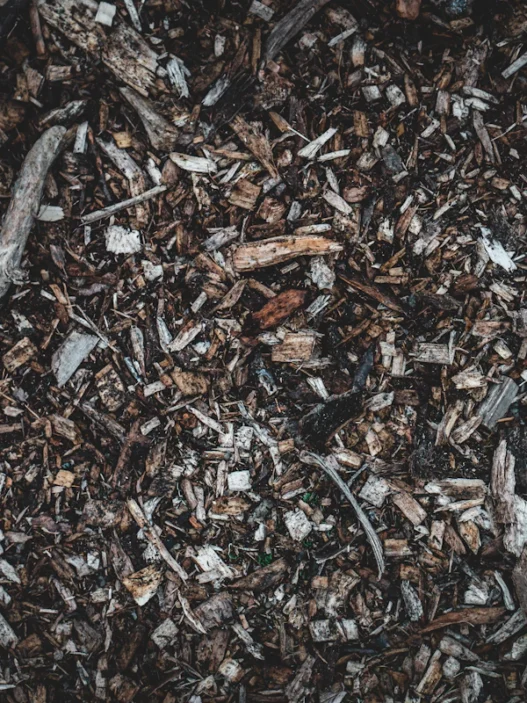
Browns
Food scraps that balance the moisture in the compost. They even more important in worm composting and Bokashi are they help control the moisture levels and provide aeration in worm composting. A few examples of brown materials are shredded papers and cardboards, dried leaves and grass clippings, paper towels and napkins, sawdust and wood shavings, and coconut coir or peat moss.
You should aim to achieve a balance of about two parts brown material to one part green to help prevent odours and promote efficient composting.
What Not To Compost
Some scraps are known to disrupt the composting process, attract pests or produce odours. Some examples of these food scraps are:
- Meats, Dairy, and Oily foods: these take too long to decompose, attract pests, can spoil easily, can clog air passages (oily foods especially), produce unpleasant odours and are prone to spoiling quickly.
- Citrus Peels and Acidic Foods: Especially in worm composting, citrus peels, onion skins and other acidic foods should be avoided because they can be harmful to the worms. A very little amount of these are fine in Bokashi though – choose wisely.
- Hard Materials or Synthetic Items: Items like bones, shells, plastic or glossy (or coloured) paper should be avoided as they can release toxins, could be non-biodegradable (plastic, glossy papers, etc), break down very very slowly and may not compost well. An exception to this is eggshells as they add calcium to the compost even if they don’t fully decompose – ensure to crush them before adding though.
- Diseased Plants and Spicy Foods: Diseased plants or weeds can introduce problems because small space composting doesn’t always reach a high enough temperature to kill the pathogens and these can be spread to your plants. Garlic, onions and spicy food may irritate worms – generally fine in Bokashi in moderation though.
| Category | Compostable Items | Avoid |
| Greens | Veggie peels, fruti scraps, coffee grounds, tea | Meat, dairy, large amounts of citrus |
| Browns | Shredded paper, cardboard, dry leaves | Glossy paper, coloured paper, synthetic fibers |
| Neutral | Eggshells (crushed), non-oily cooked grans | Greasy or oily foods, bones, diseased plants |
| Bokashi | Can handle most foods (including meat, dairy) | Large bones, excess oil |
| Electric | Can process most scraps per manufaturer’s guidance | Bones, hard pits, non-biodegradable items |
Harvesting Your Compost
Well, you’ve been hard at work building out and gradually adding food scraps and maintaining your compost bins for months now. He who sows shall reap. It’s time to reap the benefits of all the nutrient rich compost you’ve been carefully nurturing.
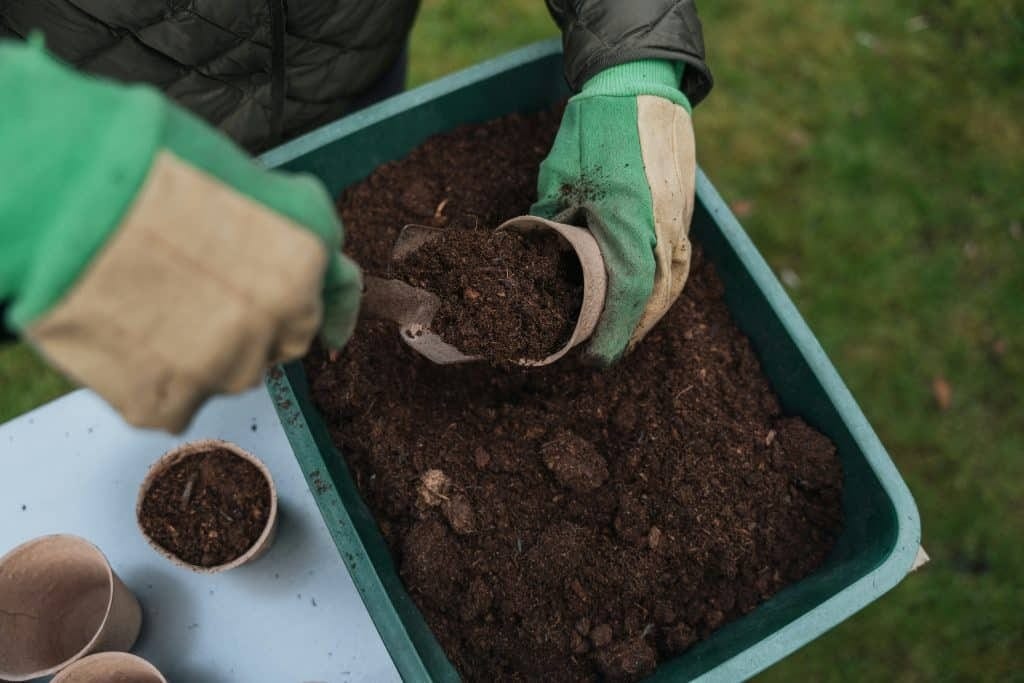
Not all compost is ready at the same time, the readiness entirely depends on the type of system you’re using, the climate, and what you’ve been adding to your compost bin. A finished compost should look more like dark, crumbly soil and you should no longer be able to recognise the materials you added to the compost in the first place. It should also smell earthy and pleasant – strong or sour odour means it is still breaking down and needs more time. Vermicomposting (worm composting) generally takes around 3 to 6 months to fully compost. Bokashi systems may yield “pre-compost” in about 2 to 4 weeks but you still need additional time to fully break it down in the soil. And electric composting takes a maximum of around 24 hours (you should consult the device manuals for specific instructions).
Vermicomposting (Worm Bins)
Worm bins create worm castings. When you want to harvest these, you should push the finished compost to one side of the bin, then add fresh bedding and food scraps to the other side. Over time, the worms will migrate to the fresh material, leaving the finished compost behind. If you don’t want to wait for the worms, you can sift the compost with a mesh screen or kitchen sieve (gently, please care for the worms) to separate the worms from the compost.
Bokashi Composting
To harvest the fermented “pre-compost”, you should empty your Bokashi bin and bury it in a trench or container with soil. After another 2-4 weeks, the pre-compost will fully decompose, and you now have a full serving of nutrient rich compost ready for planting.
If you have outdoor plants or garden beds, instead of burying the compost in a container first, you can dig a small hole directly where you want to add the nutrients to bury the pre-compost. That way, once the nutrient rich compost is ready, you don’t have to move it as it just directly enriches the surrounding soil.
Electric Composters
Electric composters, such as the Lomi or FoodCycler, create crumbly compost like material that’s ready for immediate use. You should follow the machine’s instructions before harvesting as most times you need to let the compost cool down for a while after processing.
Using Your Compost
You’ve harvested your compost. Now let’s put it to work!
Compost can be directly mixed into the potting soil in a 1 part compost to 3 part potting soil configuration to dilute your compost – especially true to indoor plants as they generally need fewer nutrients than outdoor plants due to their slower growth rate. This helps promote strong root growth and improves moisture retention. Instead of mixing directly, you can also add a thin layer of compost on top of the soil in your pots. This method is especially useful for houseplants or herbs as it gradually releases nutrients with each watering.
If you also harvested compost tea during your composting process, you can add this to your plant also by mixing one cup of compost tea in a gallon of water. You should let this sit for 24 hours and stir every few hours. After 2 hours, strain out any solid particles in the water and now you’ve got nutrient rich water for your plants. You should use this to water your plants normally.
For those with raised beds or gardens, you can sprinkle a layer of compost over your garden bed soil and work it in with a rake or trowel, and during growing season you can add lines of compost beside your plants to help them get the nutrients they need faster and closer to them.
Common Mistakes
- Using Too Much Compost: Compost is very nutrient dense and as such you don’t need to add too much to get it to work for your plants. Adding too much will almost always lead to nutrient imbalances.
- Compost Storage: You should store your excess compost in a cool, dry place. It’s better to use a breathable bag instead of plastic bags to provide airflow to the compost.
Conclusion
You should by now, understand the ins and outs of composting enough to be able to get started on your composting adventure. Turning kitchen scraps into rich, plant nourishing compost is not a small feat and you should pat your self on the back for this new tool you’ve added to your gardening repertoire.
Remember, the key to successful composting – list most things in life – is balance, patience, and a willingness to adapt. With these tools and a little grit and patience, you can become a composting expert. Happy composting!