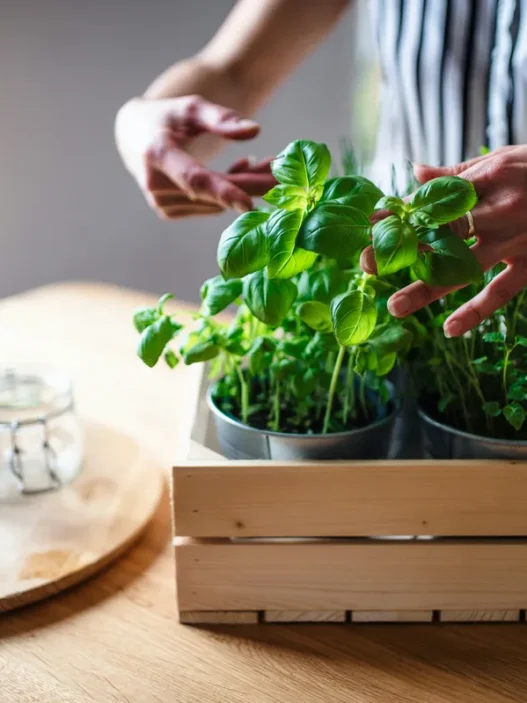


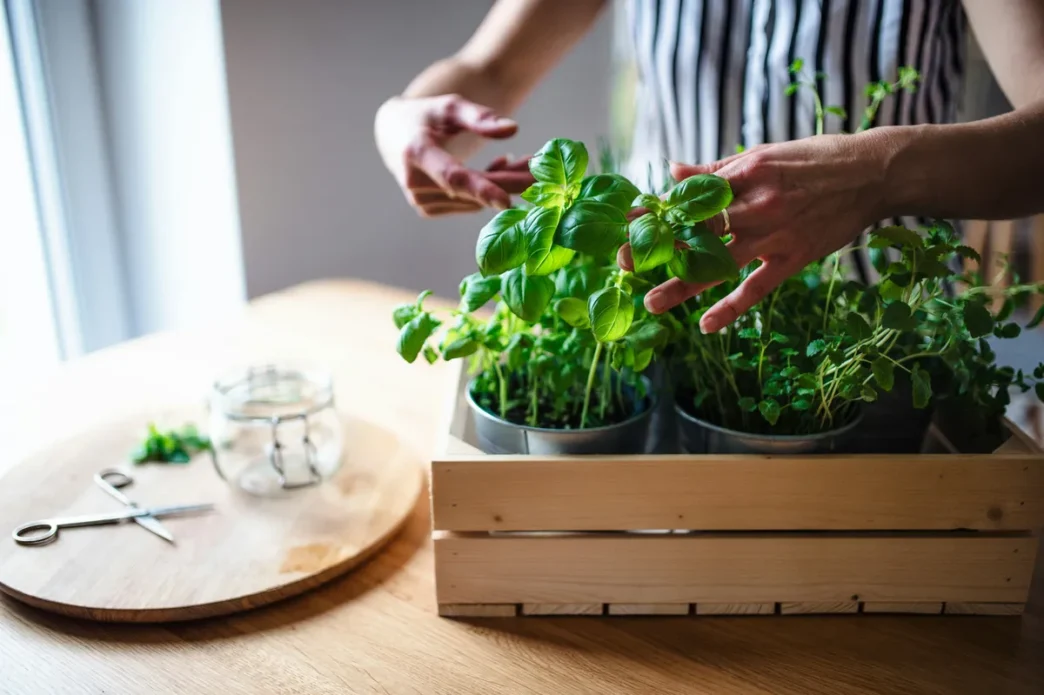
Ever dreamed of snipping fresh basil for your pasta sauce while snowflakes dance outside your window? Growing herbs indoors in winter isn’t just a practical solution for year-round flavors – it’s like having your own slice of spring during the coldest months of the year.
Transform your windowsill into a fragrant oasis of culinary possibilities! Whether you’re a seasoned gardener looking to extend your growing season or a curious cook wanting fresh herbs at arm’s reach, indoor winter herb gardening offers a delicious blend of hobby and practicality that’ll make your kitchen the coziest spot in the house.
Benefits of Growing Herbs Indoors During Winter
Who needs a grocery store herb aisle when you can have your mini herb paradise in your kitchen? ???? Growing herbs indoors during the chilly months has some delightful perks that’ll make you wonder why you didn’t start sooner!
First, imagine having fresh basil for your pasta sauce or mint for your tea any time you want—even when there’s a blizzard outside! Fresh All-Winter herb gardens keep producing their flavorful bounty all year long, making seasonal outdoor conditions irrelevant to your culinary adventures.
Let’s talk money (because who doesn’t love saving some green while growing some greens? ????). Those tiny plastic packages of herbs at the store can cost a pretty penny, but growing your own means unlimited fresh herbs for just the cost of some seeds or starter plants and basic supplies. Plus, no more sad, wilted herbs hiding in the back of your fridge!
Speaking of convenience, having herbs within arm’s reach while cooking is like having your own sous chef! No more running to the store in your pajamas when a recipe calls for fresh thyme – just snip and sprinkle!
Something that might surprise you is that tending to indoor herbs can be as therapeutic as a spa day (well, almost!). When winter blues start creeping in, caring for these aromatic plants gives you a wonderful sense of purpose and accomplishment.
The bonus? Your home will be filled with lovely natural fragrances and spots of vibrant greenery, making those gray winter days much more cheerful!
Selecting Suitable Herbs for Indoor Winter Growing
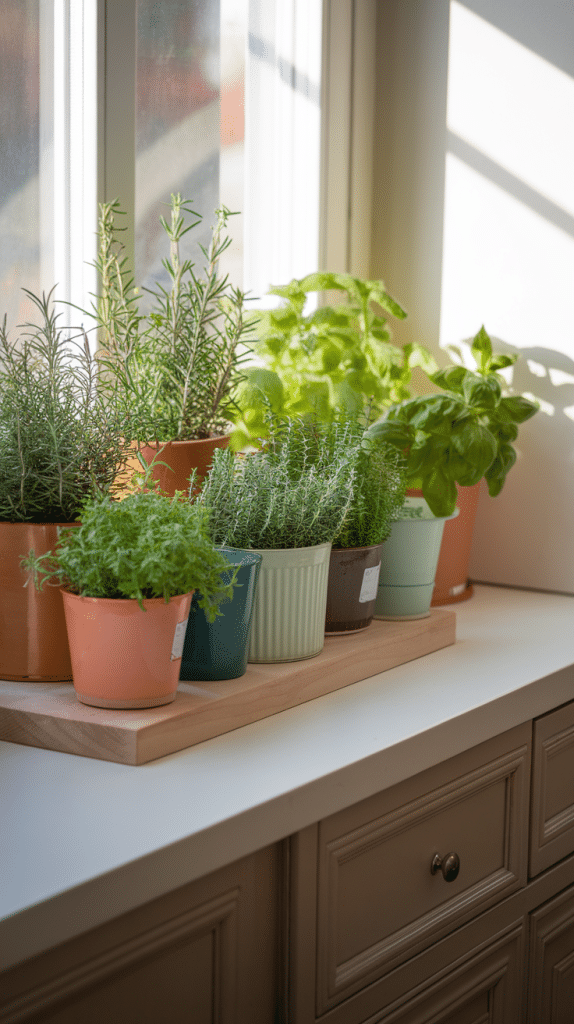
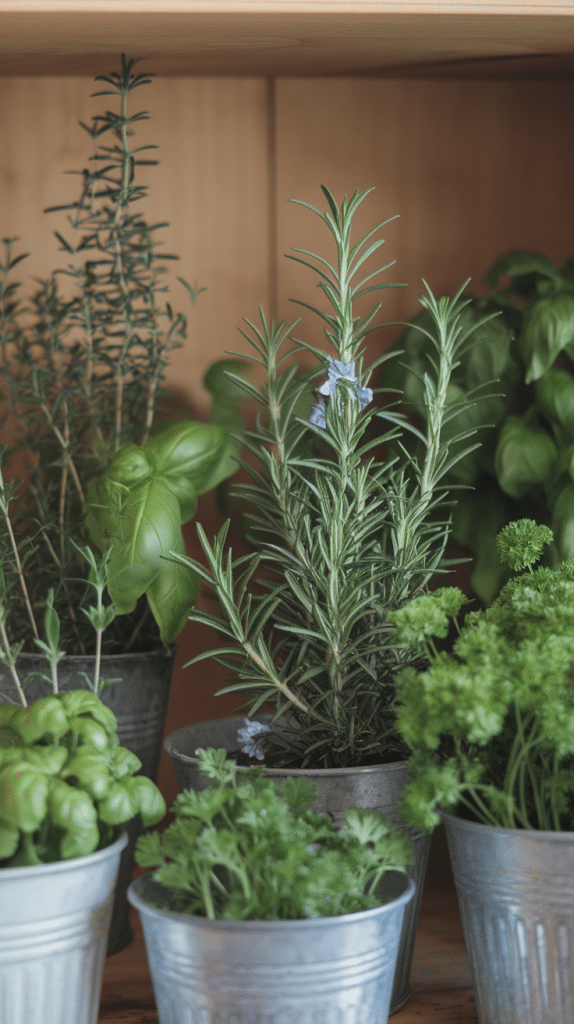
Not all herbs are created equal for indoor growing, but don’t worry – we’ve got a star-studded lineup of kitchen favorites that’ll thrive in your indoor herb garden! ????
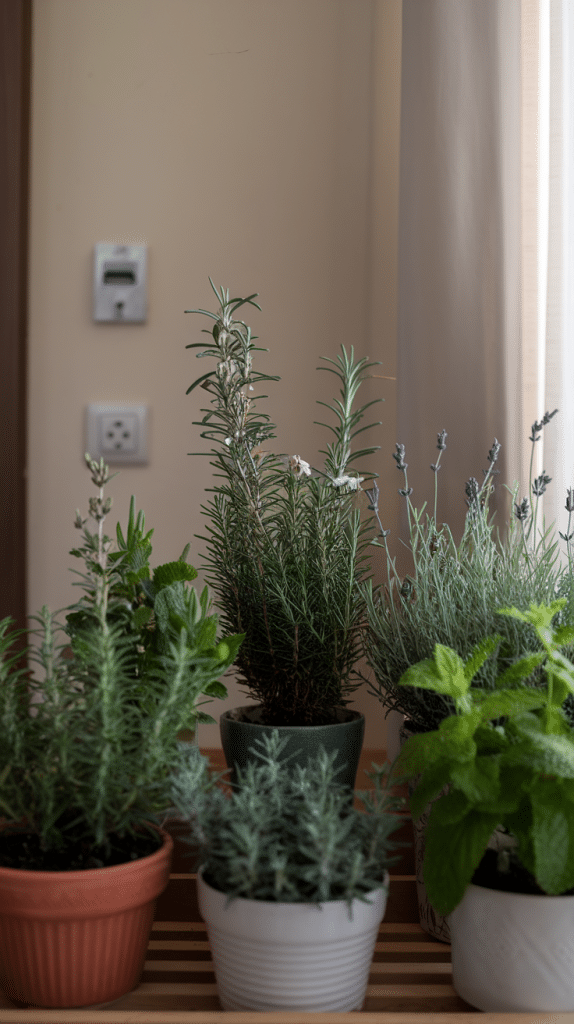
Let’s start with the A-listers: basil, parsley, mint, and chives are like the rock stars of indoor herbs. They’re chill about growing conditions and won’t throw a fit if things aren’t perfect. Rosemary, thyme, and sage are more like sophisticated artists—they need a bit more attention, but boy, do they put on a show!
Here’s a fun little secret: some herbs are total light lovers, while others are more like vampires (minus the creepy factor). Parsley, mint, and chives are cool when hanging out in partially shady spots, making them perfect for those less-than-sunny windowsills. But if you’ve got rosemary or thyme on your wish list, they’ll need a prime spot by your brightest window (or maybe even some extra lighting help).
Want to know a pro gardener trick? ???? Start with annual herbs like basil and parsley from seeds – they grow up fast and don’t mind being indoor babies. But for perennial herbs like rosemary and thyme, save yourself some time and grab small plants from your local garden center. They’ve already got their act together and are ready to join your indoor herb party!
Remember: matching herbs to your space is like finding the perfect roommate – it’s all about compatibility! Pick herbs you’ll actually use in your cooking, and make sure they’ll be happy with the light and space you can offer them.
Essential Materials and Equipment Needed
Ready to set up your indoor herb oasis? Let’s get your garden party started with all the right gear! ????
Think of your herbs like tiny plant roommates – they need comfy homes to thrive! Start with containers with suitable drainage holes (because nobody likes wet feet, especially herbs). Clay or terracotta pots are the vintage-chic choice – they’re not just pretty; they help keep soil moisture right. But hey, any container with drainage will do – even those takeout containers you’ve been hoarding (punch some holes in the bottom)!
For the perfect herb home setup, you’ll need:
- Quality potting soil (skip the garden dirt; your herbs are fancy indoor plants now!)
- A trusty watering can or spray bottle for gentle hydration
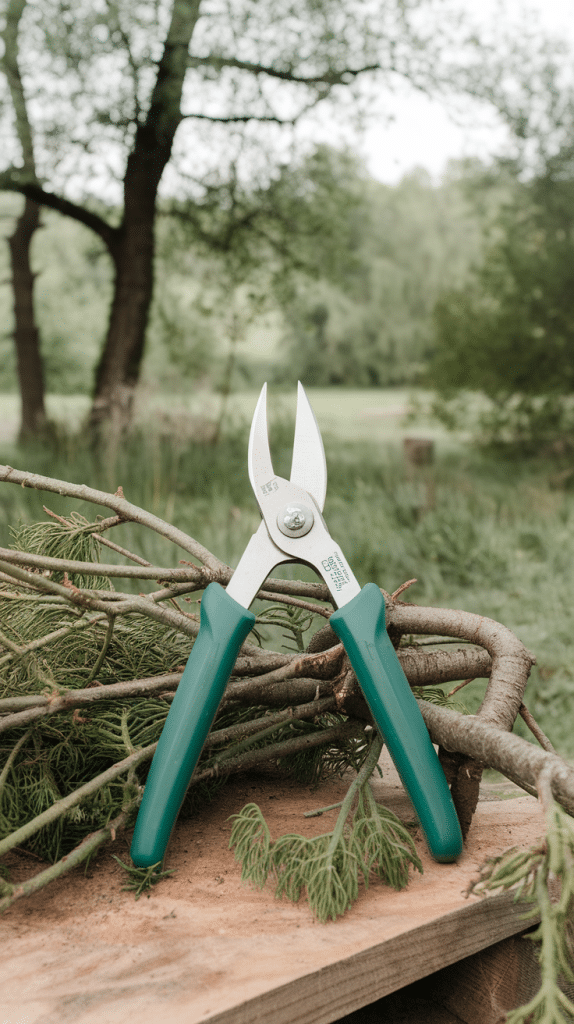
- Sharp scissors or pruning shears (for harvesting without the drama)
- Some bright grow lights if your windows are throwing shade ????
Here’s a fun fact: herbs are like plant divas – they love good drainage almost as much as sunshine! That’s why picking the right soil mix is super important. Look for potting mixes made for herbs, or mix your own with regular potting soil and some perlite for extra fluffiness.
And if you’re feeling extra plant-parent-y, grab a humidity tray (just a shallow dish with pebbles and water). Your herbs will love the spa-like vibes, especially during those dry winter months!
Remember: you don’t need to buy everything at once – start small and add tools as you grow! Your wallet (and your herbs) will thank you. ????
Choosing the Right Containers and Soil
Let’s get down to the nitty-gritty of creating the perfect home for indoor herbs! ???? Think of containers as your herbs’ apartments – they must be just right for happy, healthy growth.
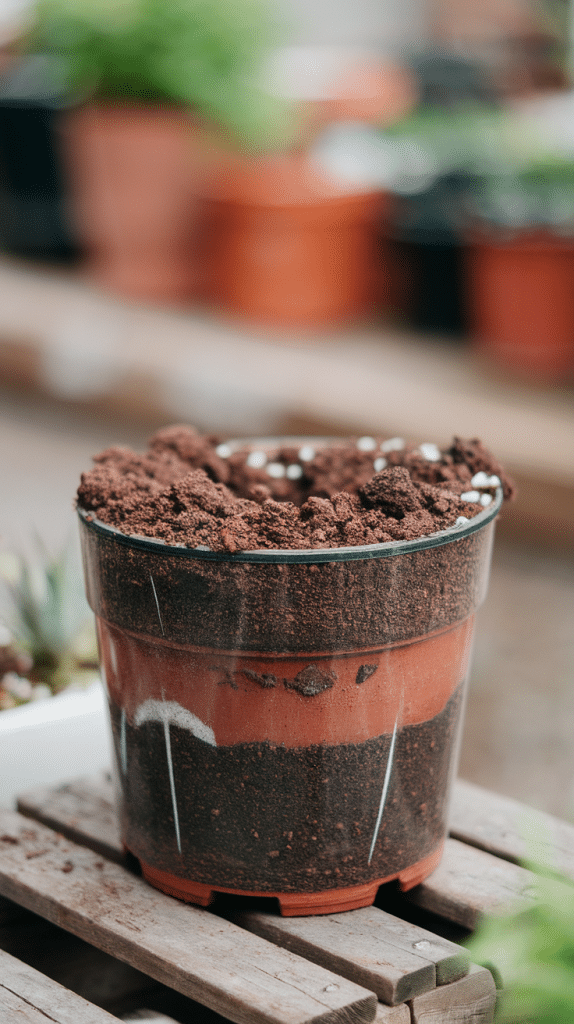
First things first: drainage is king! Your containers must have holes at the bottom (like tiny escape hatches for excess water). Clay and terracotta pots are the classics of the container world – they’re porous, which means they help keep soil moisture balanced. But don’t worry if you’re on a budget; plastic containers work great, too, as long as they’ve got those all-important drainage holes!
Size matters when it comes to herb homes! Here’s a handy rule of thumb:
- Small herbs (thyme, oregano): 6-inch pots
- Medium herbs (basil, parsley): 8-inch pots
- Large herbs (sage, rosemary): 10-inch pots
Now, let’s talk dirt! ???? Your herbs need special indoor potting mix—not that stuff from your backyard. Regular garden soil is too heavy and might bring unwanted guests (hello, bugs!) into your kitchen. Look for a potting mix labeled for herbs, or make your own super-soil by mixing regular potting soil with some perlite or vermiculite (these are tiny air pockets for your roots).
Pro tip: Add a layer of pebbles or broken pottery pieces to the bottom of your containers before adding soil. It’s like building a mini-drainage system for your herbs! Remember to leave about an inch of space between the soil surface and the pot rim—this makes watering much easier and less messy.
Want your herbs to feel extra fancy? Put them in stunning indoor containers with saucers underneath—it’s like giving them their little front porch! Just make sure those decorative pots have drainage, too.
Optimal Lighting Conditions for Indoor Herbs
Let’s shed some light on what makes herbs happy during those shorter winter days! ☀️ Think of your herbs as tiny sunbathers—they need their daily dose of rays to stay perky and productive.
Got a south-facing window? You’ve hit the lighting jackpot! These windows offer the most natural light throughout the day, making them prime real estate for your indoor herb garden. Most herbs need about 4-6 hours of direct sunlight daily to keep their flavor game strong.
But what if your windows aren’t precisely sun-central? No worries! Modern grow lights are here to save the day. ???? Think of them as personal sunlamps for your herbs – they provide all the light-loving goodness your plants need. Full-spectrum LED lights give your herbs private sunshine; they won’t spike your electric bill!
Here’s a quick light setup guide:
- Place lights 6-12 inches above your plants
- Run them for 12-16 hours daily (set a timer – it’s like an alarm clock for your herbs!)
- Adjust height as plants grow taller
Pro tip: Notice your herbs getting leggy or stretching toward the light? That’s their way of saying, “Hey, we need more rays!” Move them closer to the light source or add some extra illumination. Your herbs should look full and bushy, not like they’re doing the limbo! ????
Remember: rotating your pots every few days keeps growth even – nobody likes a lopsided herb! And those grow lights? They work great on cloudy days, too, so your herbs never have to miss their daily light workout.
Temperature and Humidity Requirements
Just like Goldilocks, indoor herbs need the right environment! ????️ Let’s discuss keeping your leafy friends cozy during those chilly winter months.
Your herbs prefer a daytime hangout spot around 65-70°F (18-21°C)—basically, if you’re comfortable, they probably are, too! At night, they’re cool, with temperatures dropping to 55-60°F (13-16°C), which is perfect because who doesn’t like saving on heating bills?
But watch out for those sneaky cold drafts! Keep your herbs away from drafty windows and doors – they’re not fans of sudden temperature changes. Think of it like this: if you wouldn’t want to sit there in your PJs, your herbs probably don’t either!
Now, let’s talk humidity (because winter air can be drier than last week’s toast). ???? Most kitchen herbs like it a bit humid, and here’s a simple trick: grab a shallow tray, fill it with pebbles and water, and place your herb pots on top. As the water evaporates, it creates a mini flavor factory for your plants!
Want to level up your humidity game? Try these tricks:
- Group your herbs together (they love a good plant party!)
- Mist them occasionally with room-temperature water
- Run a small humidifier nearby if you’re feeling fancy
Remember: if you notice crispy leaf tips or dropping leaves, that’s your herbs’ way of saying, “Hey, we need more moisture in the air!” A quick humidity boost should perk them right up! ????
Watering Techniques for Indoor Herbs
Let’s talk about keeping your herbs hydrated – without turning their pots into swimming pools! ???? Just like Goldilocks, herbs want their water situation to be just right.
The golden rule? Get touchy-feely with your soil! Stick your finger about 2 inches deep into the potting mix. If it feels dry, it’s time for a drink. If it’s still moist, let it be. Your herbs are more like camels than fish—they’d rather wait for water than swim in it!
Here’s your watering cheat sheet:
- Water only when the top layer feels dry
- Pour slowly until water drips from drainage holes
- Empty saucer after 15 minutes (no soggy feet!)
- Use room-temperature water (cold showers are no fun!)
Each herb has its own personality when it comes to thirst. Basil and mint are like teenagers – always hungry (and thirsty)! Meanwhile, rosemary and sage are more likely to cause mistakes for gardeners by overwatering these desert dwellers, who prefer drier life. ????
Watch for these SOS signals from your herbs:
- Droopy leaves = “Help, I’m thirsty!”
- Yellow leaves = “Whoa, too much water!”
- Crispy tips = “I need a drink, stat!”
Pro tip: Water in the morning so your herbs have all day to drink up. And remember, consistent watering beats random splashes – set a reminder on your phone if you need to! Your herbs will thank you by staying perky and flavorful all winter long. ????
Fertilizing Indoor Herbs During Winter
Think your indoor herbs can thrive on love alone? While these green buddies aren’t too demanding, they need a little nutrient boost during their winter staycation! ????
Here’s the scoop on feeding your indoor herb family: Stick with a balanced, all-purpose fertilizer, but dial it back to half or quarter strength. Your herbs are like hibernating bears—they need less food during winter months! Plus, because of too much plant food, nobody wants herbs that taste like chemicals.
Here’s your herb-feeding schedule:
- Monthly feeding for active growers (basil, mint)
- Every 6-8 weeks for slower growers (sage, thyme)
- Skip fertilizing entirely for dormant herbs
- Always feed after watering (never on dry soil!)
Want a natural approach? Try these kitchen-friendly options:
- Compost tea (like a smoothie for your herbs!)
- Fish emulsion (smelly but effective)
- Seaweed solution (ocean goodness for your plants)
Watch out for these signs of fertilizer drama:
- Burned leaf tips = too much plant food
- Weak, leggy growth = not enough nutrients
- Yellow leaves = feeding imbalance
Pro tip: Less is more when it comes to winter feeding! ???? Your herbs are like couch potatoes during winter—they’re not growing as fast, so they don’t need as much food. It’s better to undernourish slightly than overwhelm them with nutrients. Besides, slightly stressed herbs often pack more flavor punch!
Pruning and Harvesting Indoor Herbs

Let’s talk about giving your herbs the perfect haircut! ✂️ Regular pruning isn’t just about keeping your herbs looking neat – it’s like going to the gym for plants, making them stronger and bushier!
Start pruning when your herbs reach about 6 inches tall. Pinch or snip stems just above a set of leaves (where those little leaf nodes hang out). This encourages your plant to branch out and become fuller—like giving it a motivational pep talk to grow more leaves!
Here’s your pruning playbook:
- Cut stems above leaf nodes
- Remove yellowing or dead leaves
- Trim flower buds (they steal energy from leaf growth)
- Never take more than 1/3 of the plant at once
When it comes to harvesting, morning is prime time! ???? That’s when your herbs are most flavorful and full of essential oils. Always use sharp scissors to avoid damaging the stems – your herbs will bounce back faster with clean cuts.
Got more herbs than you can use? No problem! Try these storage tricks:
- Freeze chopped herbs in ice cube trays with water or oil
- Bundle stems together and hang upside down to dry
- Layer fresh leaves between paper towels in the fridge
Pro tip: For most herbs, regular light harvesting promotes better growth – it’s like giving them a signal to produce more leaves! Just remember to leave enough foliage so your plant can keep making its own food through photosynthesis. After all, a happy herb is a productive herb! Consider trying some canning recipes to preserve your bountiful harvest. ????
Pest Management for Indoor Herb Gardens
Nobody likes uninvited guests at their indoor garden party! ???? Let’s keep those pesky bugs from turning your kitchen into their personal buffet.
First things first: prevention is way better than treatment! Keep a watchful eye on your leafy friends—a quick daily check helps catch troublemakers before they throw a full-on pest party. Look under leaves, check stem joints, and watch for suspicious spots or webbing.
Here’s what to watch out for:
- Tiny green aphids clustering on new growth
- Spider mites (and their telltale webs)
- Whiteflies hovering around your plants
- Fungus gnats buzzing around the soil
Got bugs? Don’t panic! Try these plant-friendly solutions:
- Spray plants with mild, soapy water
- Wipe leaves with cotton balls dipped in rubbing alcohol
- Apply neem oil (nature’s pest control superstar!)
- Set up sticky traps for flying pests
Keep your herbs healthy and pest-resistant with these tricks:
- Space plants for good airflow
- Remove dead leaves promptly
- Avoid overwatering (bugs love wet soil!)
- Quarantine new plants for a week before introducing them
Pro tip: Indoor herbs are like tiny ecosystems – keeping them strong and healthy makes them naturally resistant to pest problems! ???? And if you spot some unwanted visitors, act fast but stay organic – after all, these are herbs you’ll be eating! Consider adding indoor plants like marigolds or lavender-like natural bodyguards for your herb garden. ????
Common Issues and Troubleshooting Tips
Let’s play plant detective and solve some everyday indoor herb mysteries! ???? Like us, herbs sometimes get grumpy and show it through various signs and symptoms.
Spotted yellow leaves on your herbs? That’s their way of waving a little yellow flag! Usually, this means either too much water (oops!) or not enough light. The fix? Check your watering habits and scoot those pots closer to a bright window or under grow lights.
Here’s your herb health checklist:
- Leggy, stretching plants = need more light
- Wilting despite wet soil = root rot (ease up on watering!)
- Brown, crispy edges = low humidity or too much fertilizer
- Stunted growth = time for a bigger pot
Speaking of pots, let’s talk about the root of the matter! ???? If your herbs look squished or start growing slower than a snail’s race, they might need more room to spread their roots. Time for a container gardening upgrade when you see:
- Roots peeking out drainage holes
- The plant dries out super fast
- Growth hits the brakes
- The soil looks packed and tired
Pro tip: Most herbs need repotting every 12-18 months, but some speedy growers like mint might need new digs sooner! Give them fresh potting mix and a pot one size up – they’ll reward you with a growth spurt that’ll make your inner plant parent proud! ????
And remember, if your herbs look sad, don’t throw in the towel! Most issues have simple fixes, and herbs are forgiving once you get them back on track.
Transitioning Herbs from Outdoors to Indoors
So, you’ve decided to bring your outdoor herb pals inside for a cozy winter sleepover? ???? Let’s make the move as smooth as butter on hot toast!
Start the great indoor migration about 2-3 weeks before the first frost. Your herbs need time to adjust – like kids switching schools, they need a gentle transition! Begin by pruning them back by about one-third (but keep those clippings for cooking!).
Here’s your herb relocation checklist:
- Clean pots thoroughly with soap and water
- Use fresh potting mix (no garden soil allowed!)
- Check for hitchhiking bugs or weeds
- Trim roots if they’re overcrowded
- Place it in a sheltered spot for a few days before bringing it inside
The secret sauce to happy indoor herbs? Gradual changes! Start by bringing them in for a few hours daily, then overnight, then permanently. It’s like helping them get used to their new bedroom – no sudden moves!
Watch your herbs closely during their first indoor weeks:
- Drop some leaves? Normal adjustment blues
- Looking pale? It might need more light
- Droopy? Check watering schedule
- Perking up? You’re doing great! ????
Pro tip: Some herbs might throw a little tantrum during the move—don’t panic! Keep the soil barely moist (not wet) and give it bright, indirect light while it settles in. Think of it as their adjustment period, like getting used to wearing indoor slippers instead of outdoor boots! Once they’re settled in, you can add them to your kitchen for year-round flavor.
Best Practices for Maximizing Herb Growth in Limited Space
Who says you need a huge garden to grow herbs? Let’s get creative with your indoor space! ???? Small-space herb gardening is like playing Tetris with plants – it’s all about smart placement and making the most of every inch.
Vertical gardening is your secret weapon! Turn that blank wall into a living herb tapestry using:
- Pocket planters (like shoe organizers but for herbs!)
- Magnetic planters on your fridge
- Tiered plant stands
- Window-mounted shelves
Do you have a sunny windowsill? That’s prime herb real estate! Stack mini pots at different heights using simple risers, or try this neat trick: hang small containers from tension rods in your window frame. It’s like creating a mini kitchen high-rise! ????
For tight spaces, pick herbs that play nice in small pots:
- Compact Greek basil (way smaller than regular basil)
- Spicy globe basil
- Dwarf sage
- Trailing thyme
- Mini varieties of oregano
Pro tip: Group herbs by height, putting shorter ones in front and taller ones in back – it’s like arranging a class photo, but with plants! And those trailing herbs? Let them cascade down from higher spots like natural plant curtains!
Remember: even in tiny spaces, good airflow is key! Space your containers for successful gardening so your herbs can breathe, and rotate them regularly for even growth. Think of it as giving each plant a personal dance space at the herb party! ????
Utilizing Herbs in Winter Cooking and Recipes
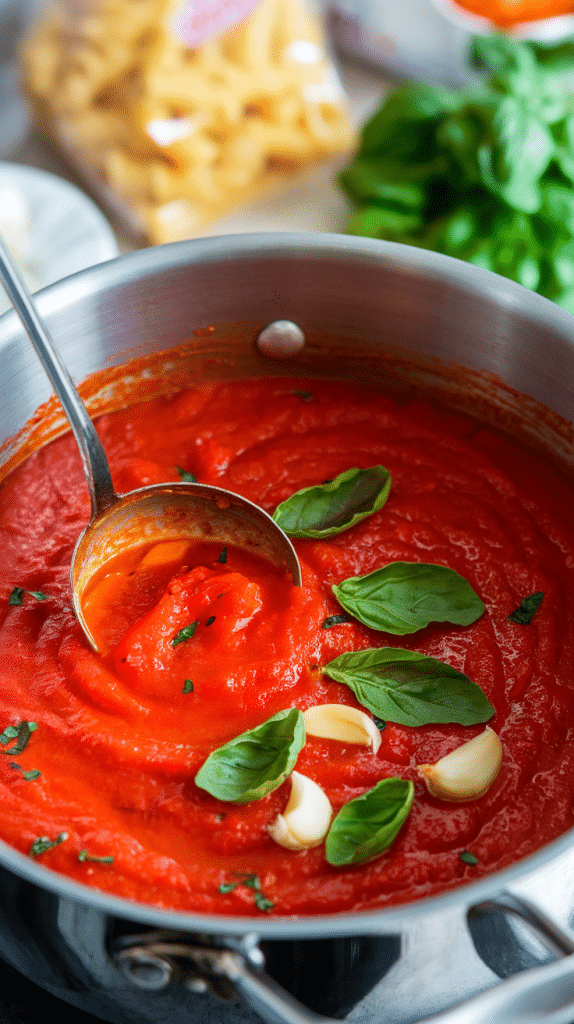
Do you have a thriving indoor herb garden? Let’s use those fresh flavors in your winter kitchen! ???? Nothing beats the aroma of fresh herbs mingling with cozy winter dishes.
Winter soups and stews are like a warm hug; fresh herbs make them even better! Try these quick herb combos:
- Thyme + rosemary for hearty beef stew
- Sage + parsley in butternut squash soup
- Bay leaves + oregano in minestrone
- Chives + dill in potato soup
Your freshly snipped herbs will shine in these recipes:
- Hot herbal teas (mint, lemon balm)
- Herb-infused honey
- Compound butter (perfect for crusty bread!)
- Aromatic rice pilafs
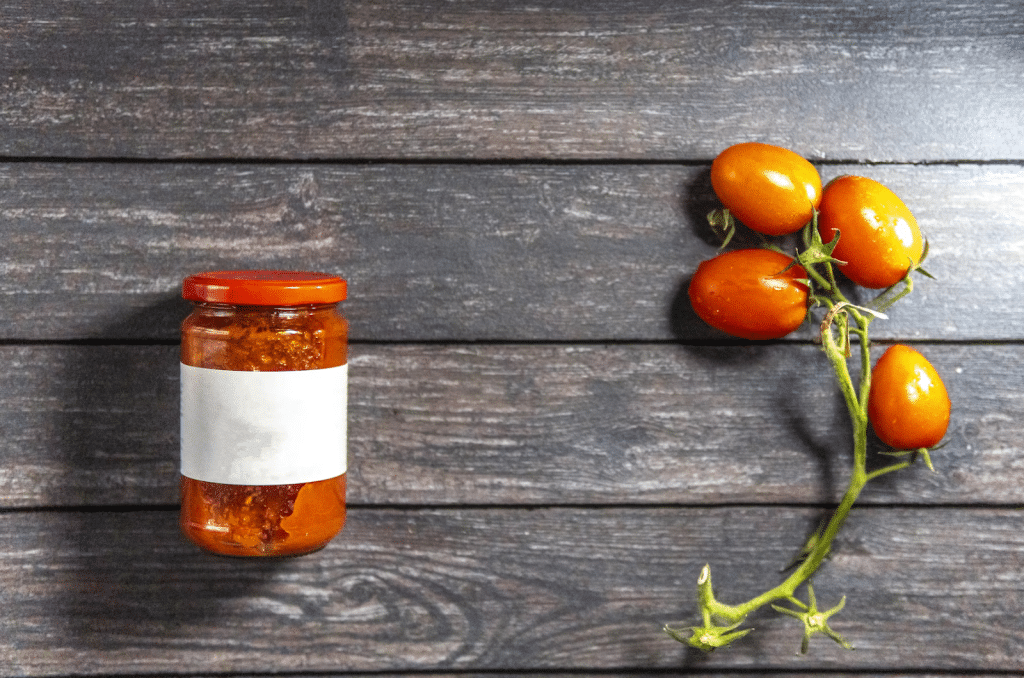
Too many herbs on hand? No problem! ???? Here are some preservation tricks:
- Chop and freeze in ice cube trays with olive oil
- Make herb salt by blending it with coarse salt
- Create herb butter rolls and freeze
- Dry small bundles in paper bags
Pro tip: Morning is the best time to harvest herbs for cooking – that’s when their oils are most potent! Just snip what you need for the day, and let the plant keep growing. Your indoor herb garden is like a little produce section in your kitchen window!
Got extra mint taking over your windowsill? Whip some fresh mint tea or add it to hot chocolate for a cozy winter treat. And those woody herbs like rosemary and sage? They’re perfect for infusing winter comfort foods like roasted potatoes or warming bread! ????
Overwintering Perennial Herbs Indoors
Ready to keep your tough-as-nails perennial herbs cozy through the winter months? ???? Those hardy heroes like rosemary, thyme, and sage can rock indoor life with the proper care!
Start by trimming your perennials back by about one-third before bringing them in. Think of it as giving them a nice winter haircut – it helps them focus energy on staying alive rather than maintaining lots of leaves. Plus, you get to use those trimmings in your fall cooking!
Here’s how to keep your perennial pals happy indoors:
- Place them in your brightest, coolest window
- Water only when the top inch of soil feels dry
- Hold off on fertilizer until spring
- Remove any yellow or dead leaves promptly
- Keep temps between 50-65°F (cooler is better!)
Pro tip: These tough cookies prefer dry life during winter! ???? It’s like their version of hibernation – they’ll grow slower and need less water. Perfect for easy composting in small spaces!
Getting ready for spring? Start waking up your sleepy herbs about 6 weeks before the last frost:
- Gradually increase watering
- Start light feeding with half-strength fertilizer
- Move to brighter spots as days lengthen
- Begin hardening off 2 weeks before moving outside
Remember: Perennial herbs are fresh all winter runners, not sprinters! They’re playing the long game, so don’t panic if they look sluggish during winter. They’ll be ready to burst into action with fresh growth in spring! ????
Embracing Your Indoor Herb Garden Success
Congratulations! You’re now equipped with all the knowledge needed to create and maintain a thriving indoor herb garden that’ll keep your cooking flavorful all winter. Remember, growing herbs indoors isn’t just about having fresh ingredients at your fingertips – it’s about bringing a touch of living green into your space during the gray days of winter.
Don’t be afraid to experiment and learn from your successes and challenges. Every seasoned herb gardener started somewhere, and with these tips and techniques, you’re well on your way to becoming an indoor herb-growing expert. Now go forth and let your indoor herb garden flourish! ????