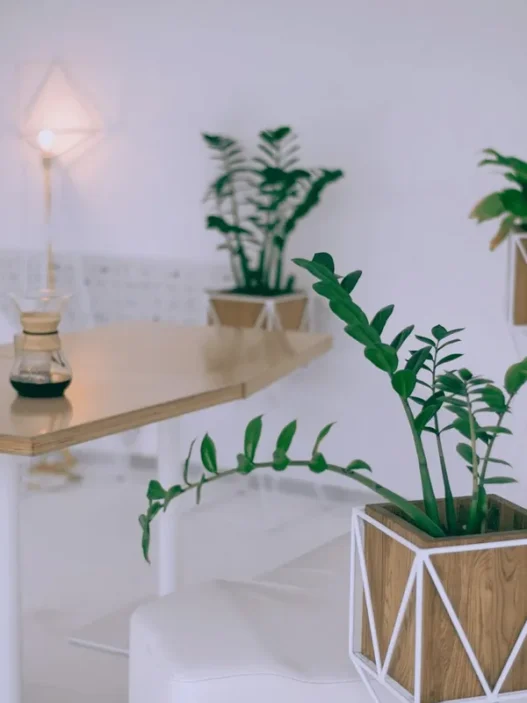


Ever thought about growing your own food but didn’t know where to start? Well, you’re in for a treat! Microgreens are the perfect gateway into the world of home gardening. These tiny powerhouses of flavor and nutrition are not only easy to grow but also incredibly rewarding. Ready to turn your kitchen into a mini farm? Let’s get started!
What Are Microgreens Anyway?
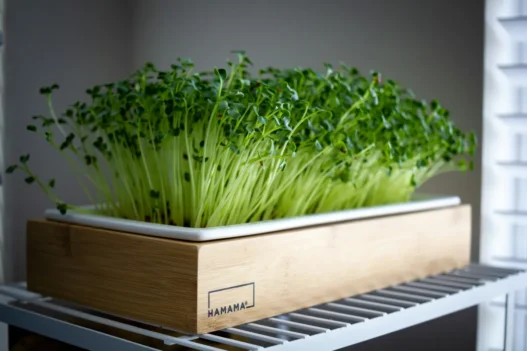
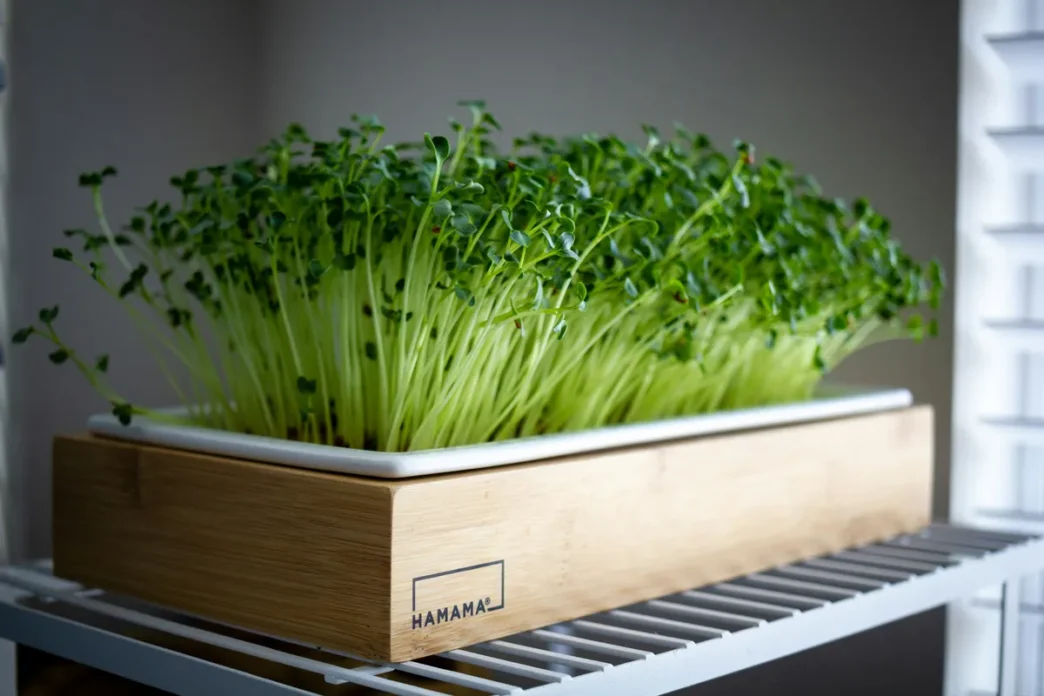
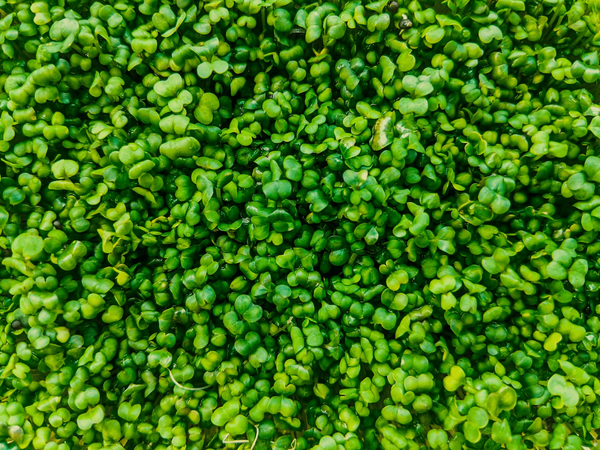
Microgreens are basically baby plants. They’re the young seedlings of vegetables and herbs, harvested just a week or two after sprouting. Don’t let their size fool you – these little guys pack a serious punch when it comes to taste and nutrition. They’re like the toddlers of the plant world: small, cute, and full of energy!
Why Should You Grow Microgreens?
- Space-Saving Superstars: Got a tiny apartment? No problem! Microgreens don’t need much room. A sunny windowsill or a small corner of your kitchen counter will do just fine.
- Quick Results: Unlike regular gardening where you wait for months to see results, microgreens give you almost instant gratification. In just 7-14 days, you’ll have a harvest ready to jazz up your meals.
- Nutrient Powerhouses: These little greens are packed with vitamins and minerals. They’re like nature’s multivitamins, but tastier!
- Flavor Boosters: Want to add a punch to your sandwiches, salads, or smoothies? Microgreens have got you covered with their intense flavors.
- Year-Round Growing: No need to wait for the right season. You can grow microgreens indoors all year round.
Getting Started: What You’ll Need
Alright, let’s talk tools. Don’t worry, you won’t need to break the bank or turn your home into a greenhouse. Here’s your shopping list:
- Seeds: This is where the magic starts. Look for seeds specifically labeled for microgreens. Some easy ones to start with are radish, mustard, or a microgreen mix.
- Growing Trays: Shallow trays about 1-2 inches deep work best. You can find these at garden stores or even use clean takeout containers with holes poked in the bottom.
- Soil: Get some good quality potting soil. It should be light and fluffy, not heavy garden soil.
- Spray Bottle: This will be your watering can. Microgreens prefer a gentle mist over a heavy downpour.
- Scissors or a Sharp Knife: For harvesting your mini crop.
- Light Source: A sunny windowsill works great. If you’re short on natural light, a simple grow light can do the trick.
That’s it! No fancy equipment needed. You probably have most of these things lying around already.
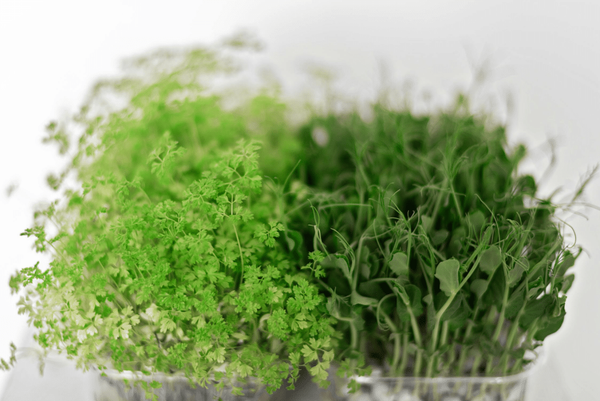
Picking Your Seeds: The Fun Part
Choosing your microgreen seeds is like picking flavors at an ice cream shop – so many options, all of them delicious! Here are some popular choices to get you started:
- Radish: These guys are the sprinters of the microgreen world. They grow fast and have a nice peppery kick.
- Mustard: If you like a bit of heat, mustard microgreens will be your new best friend.
- Sunflower: These have a nutty, slightly sweet flavor that’s great in salads.
- Pea Shoots: Sweet and tender, these are perfect for snacking.
- Broccoli: Packed with nutrients and have a mild, fresh taste.
- Arugula: For those who love a peppery, slightly bitter flavor.
- Beet: These add a beautiful color to your dishes and have an earthy sweetness.
Remember, you can always mix and match to create your own blend. It’s like being a DJ, but with plants!
Setting Up Your Microgreen Garden
Now that you’ve got your supplies, it’s time to set up your mini garden. Don’t worry, it’s easier than assembling flat-pack furniture!
- Prepare Your Tray: Fill your growing tray with about an inch of potting soil. Pat it down gently, but don’t compact it too much. You want it firm but not rock-hard.
- Sow Your Seeds: Sprinkle your chosen seeds evenly over the soil surface. Don’t be stingy – microgreens like to grow close together. Aim for about 10-15 seeds per square inch.
- Cover Them Up: Lightly cover the seeds with a thin layer of soil. Some tiny seeds like basil can be left uncovered.
- Water Gently: Use your spray bottle to mist the soil until it’s damp but not soaking wet. Think of it as giving your seeds a light shower, not a bath.
- Create a Mini Greenhouse: Cover your tray with a clear lid or plastic wrap. This helps keep moisture in and creates a cozy environment for your seeds to sprout.
- Find a Warm Spot: Place your tray in a warm area. Most seeds like temperatures around 70°F (21°C) to germinate. The top of a fridge or near a radiator can work well.

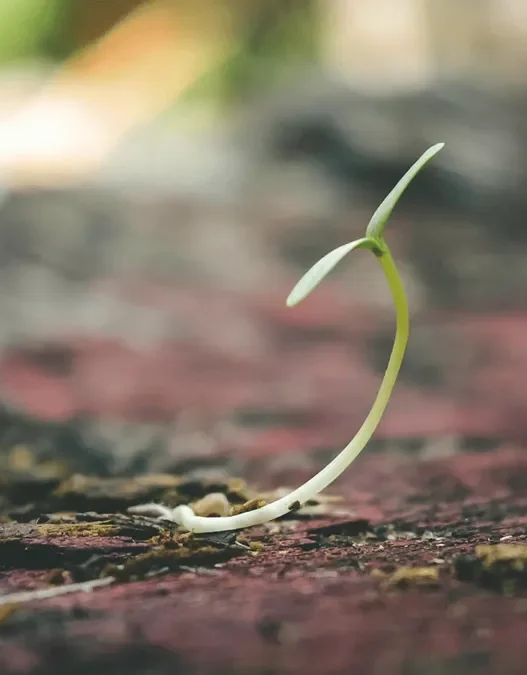
The Waiting Game: Germination
This is where patience comes in handy. But don’t worry, you won’t be waiting long! Here’s what to expect:
- Keep It Dark: For the first few days, your seeds don’t need light. They’re busy working underground, getting ready for their big debut.
- Check Moisture: Peek under the cover daily to make sure the soil stays moist. If it’s drying out, give it another gentle mist.
- Watch for Sprouts: In 2-3 days, you’ll start seeing little sprouts poking through the soil. It’s like magic!
- Let There Be Light: Once you see sprouts, remove the cover and move your tray to a spot with plenty of light. A sunny windowsill is perfect.
Caring for Your Microgreen Babies
Congratulations! Your seeds have sprouted. Now let’s make sure they grow up strong and healthy:
- Water Wisely: Keep the soil moist but not waterlogged. Water from the bottom by placing the tray in a shallow dish of water for a few minutes, then removing it. This encourages roots to grow down and prevents mold on the surface.
- Give Them Light: Microgreens love light. They need about 4-6 hours of sunlight or 12-16 hours under grow lights daily. If they start looking pale or leggy, they’re probably not getting enough light.
- Air Circulation: Make sure there’s good airflow around your trays. This helps prevent mold and keeps your microgreens happy.
- No Fertilizer Needed: Microgreens grow so fast they don’t need extra fertilizer. The nutrients in your potting soil are enough to get them to harvest time.
- Rotate Your Trays: If you’re using a windowsill, give your trays a quarter turn each day. This helps all your microgreens get equal access to light and grow evenly.

Harvest Time: Reaping What You’ve Sown
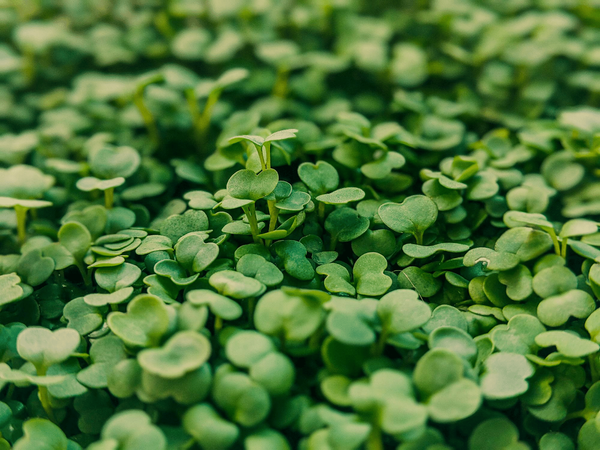
The moment you’ve been waiting for is here! Most microgreens are ready to harvest in 7-14 days after planting. Here’s how to know they’re ready:
- Look for True Leaves: When you see the first set of true leaves (the ones that come after the initial seed leaves), it’s harvest time.
- Check the Height: Most microgreens are ready when they’re about 2-3 inches tall.
- Do a Taste Test: The best way to know if they’re ready? Taste them! Snip off a tiny bit and see if you like the flavor.
When you’re ready to harvest:
- Use Clean Scissors: Cut the stems just above the soil line.
- Harvest What You Need: You can harvest the whole tray at once or snip off portions as you need them.
- Don’t Wash Until Ready to Eat: Store your harvested microgreens unwashed in the fridge. They’ll stay fresh longer this way.
Your Microgreen Adventure Awaits!
There you have it – your complete guide to starting a microgreen garden at home. It’s amazing how these tiny plants can bring so much joy, flavor, and nutrition into your life. Remember, gardening is all about experimentation and learning.
So, what are you waiting for? Grab some seeds, get your hands a little dirty, and watch the magic happen right on your kitchen counter. Before you know it, you’ll be adding homegrown microgreens to everything and wondering how you ever lived without them. Happy growing!