


Did you know that plants are much like picky restaurant eaters? They’ll only thrive when their “menu” (soil conditions) is right! But here’s the twist—most gardeners serve up nutrients blindfolded, hoping their plants will enjoy the feast. That’s where soil testing comes in—your secret weapon for garden success.
Think of soil testing as a garden detective, uncovering hidden clues about what’s happening beneath the surface. With simple tools and techniques, you can crack the code of your garden’s health and give your plants exactly what they’re craving. Ready to transform your thumb from maybe green to definitely glowing? Let’s dig in! ????
Soil Health 101: The Building Blocks of Garden Success
Let’s break down what makes soil tick! Think of soil like a smoothie recipe – it needs just the right mix of ingredients to work its magic ????
Your garden’s soil has three main components to keep track of:
- pH levels (most plants love a 6.0-7.0 range, they’re picky like that!)
- Essential nutrients (Nitrogen, Phosphorus, and Potassium – the NPK trio)
- Soil texture (the mix of sand, silt, and clay)
Getting these elements right is like hitting the garden jackpot! When your pH is off, your plants can’t absorb nutrients properly – it’s like trying to drink a thick milkshake through a tiny straw. And soil texture? That’s all about how well water moves through your garden. Too much clay is like trying to grow in modeling clay (spoiler alert: it doesn’t work well! ????).
Testing Your Garden Soil: Choose Your Adventure! ????
Ready to play soil scientist? You’ve got three main ways to check what’s cooking underground:
- DIY Test Kits—These budget-friendly buddies give quick results about basic soil nutrients and pH. They’re perfect for weekend warriors who want simple answers fast!
- Chemical Test Kits—Think of these as the middle-ground option. They offer more detailed results than basic DIY kits and come with color-changing solutions that feel like a fun science experiment ????
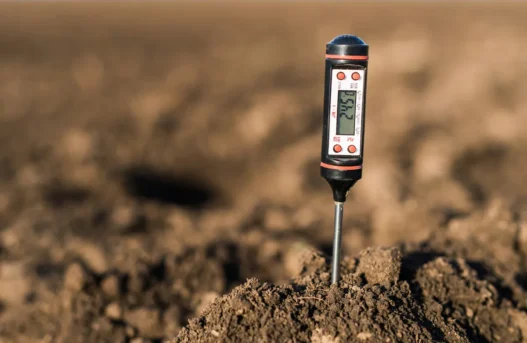
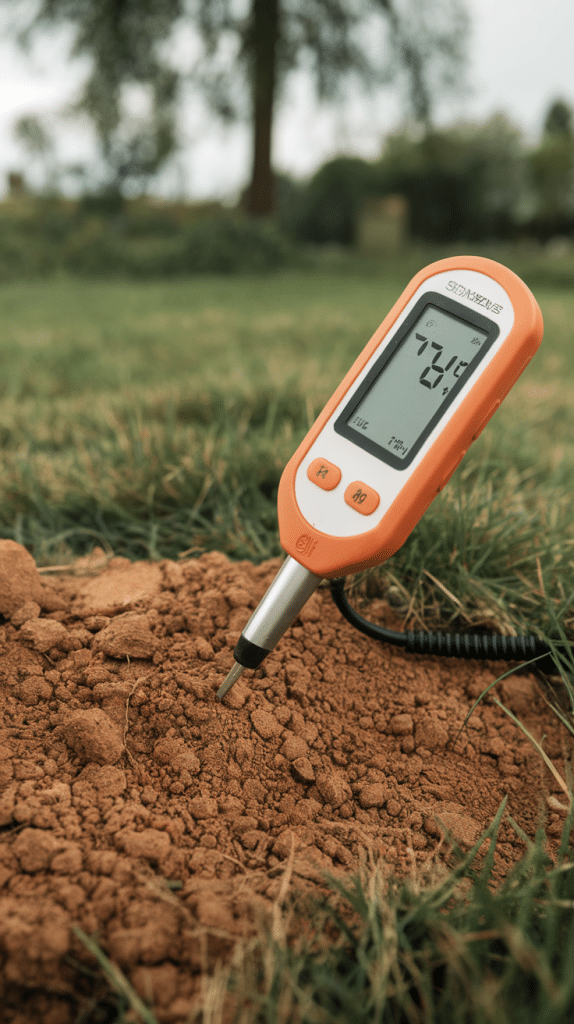
- Digital Probes—These high-tech tools give instant readings for pH and moisture. Just stick them in the ground, and bam! Instant results.
While home testing might not be as precise as lab analysis (kind of like home haircuts vs. salon visits ????♀️), it’s still super helpful for regular garden maintenance.
Just remember: cheaper kits might miss some details, but they’re great for catching big problems before they get out of hand!
Your DIY Soil Testing Toolkit: What You Really Need ????
Ready to play garden scientist? Here’s your shopping list for soil testing success! Start with a basic pH meter – it’s like a mood ring for your garden, telling you if your soil is happy or grumpy. Got $10-20? Grab some test strips that change color faster than a chameleon in a rainbow factory! ????
Pick up a comprehensive test kit for the full scoop on your soil’s story (think MySoil or Luster Leaf). These bad boys check for all the essential nutrients your plants are craving.
Pro Tip: Skip the dollar store specials and head to your local garden center for quality tools. Look for kits that test for:
- Nitrogen (N)
- Phosphorus (P)
- Potassium (K)
- pH levels
Remember: Good tools equal good results! It’s like baking—you wouldn’t try to measure flour with a shoe, right? ???? The same goes for testing your soil!
Let’s Get Dirty: Your Soil Sample Collection Guide ????
Getting good soil samples is like making the perfect chocolate chip cookies – it’s all about technique! Here’s how to nail it:
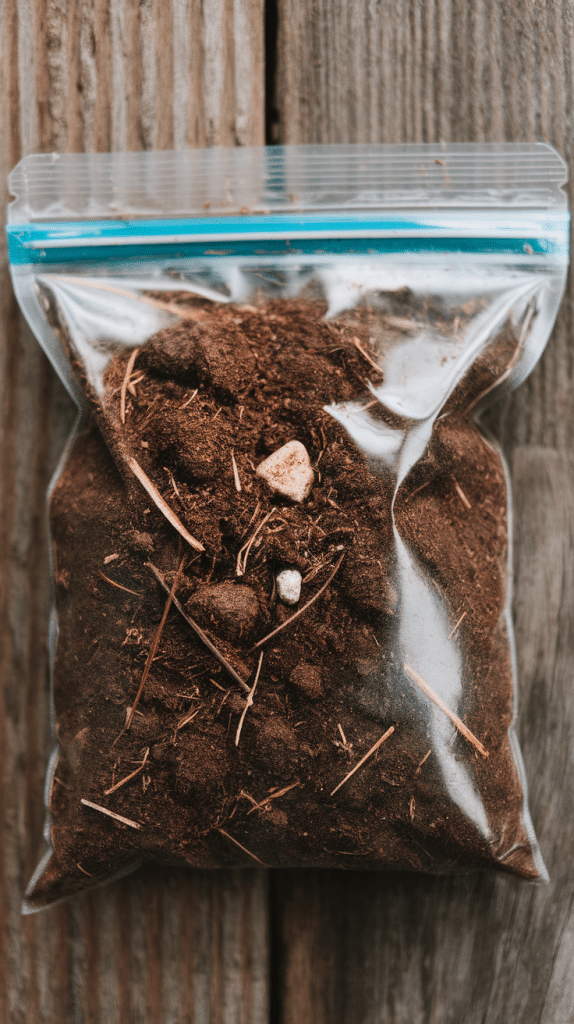
- Grab your tools:
- Clean bucket
- Garden trowel
- Plastic bags or containers
- Labels and marker
- Pick your spots: Mix samples from 4-5 different areas of your garden, digging about 4-8 inches deep (that’s where most plant roots hang out!). Think of it like taking a group photo – you want everyone represented! ????
- Timing is everything: Spring and fall are your best testing buddies. Why? The soil’s not too wet or dry, and you’ll have time to transform your jungle before planting season rolls around.
Storage smarts: Keep your samples in clean containers with labels (date and garden area). Treat them in a cool, dry spot until testing time like leftovers from your favorite restaurant! ????
Pro tip: Skip sampling right after rain or fertilizing – your results will be as wonky as a garden gnome doing the cha-cha! ????
Using a pH Meter: Your Soil’s pH Report Card ????
Getting comfy with your pH meter is easier than learning TikTok dances! Here’s how to check your soil’s attitude:
- Start with a soil sundae ????
- Mix your soil sample with distilled water (tap water can mess with readings!)
- Stir it up until it’s like a thick milkshake
- Let it rest for 5 minutes
- Time to test!
- Clean your meter’s probe (a dirty probe is a lying probe!)
- Stick it in about 2-3 inches deep
- Hold still until the numbers stop dancing around
Common oopsies to avoid:
- Forgetting to calibrate (rookie mistake!)
- Testing bone-dry or sopping-wet soil
- Getting impatient and not waiting for stable readings
Reading your results is like checking your mood ring:
- Below 6.0 = Your soil’s feeling sour ????
- 6.0-7.0 = Perfect party zone for most plants! ????
- Above 7.0 = Your soil’s gone basic (and not in a pumpkin spice latte way)
Test Strips and Color Kits: The Rainbow Road to Soil Knowledge ????
Ready to turn your soil testing into a fun chemistry experiment? Test strips and color kits are like mood rings for your garden – super simple to use and surprisingly informative!
Here’s your quick how-to guide:
- Mix your soil with water until it’s smoothie-consistency
- Dip your test strip (or add the special solution)
- Wait for the magic to happen (usually 30-60 seconds)
- Match those pretty colors to your kit’s chart ????
While these tests might not be as fancy as lab results (like home cooking vs. five-star restaurants), they’re perfect for keeping your garden thriving. You’ll get quick answers about nutrients and pH without breaking the bank!
Pro tip: Keep a garden journal with your color-matching results – it’s like creating a soil health scrapbook! And remember, if the colors look more abstract art than clear reading, you should try again with a fresh sample. ????
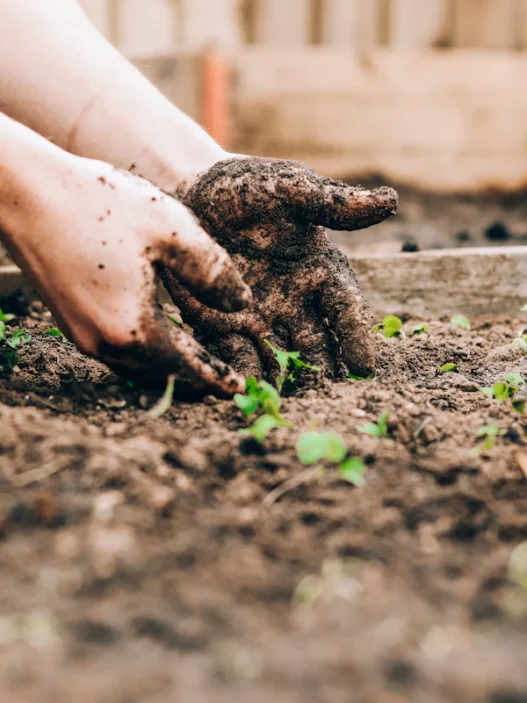
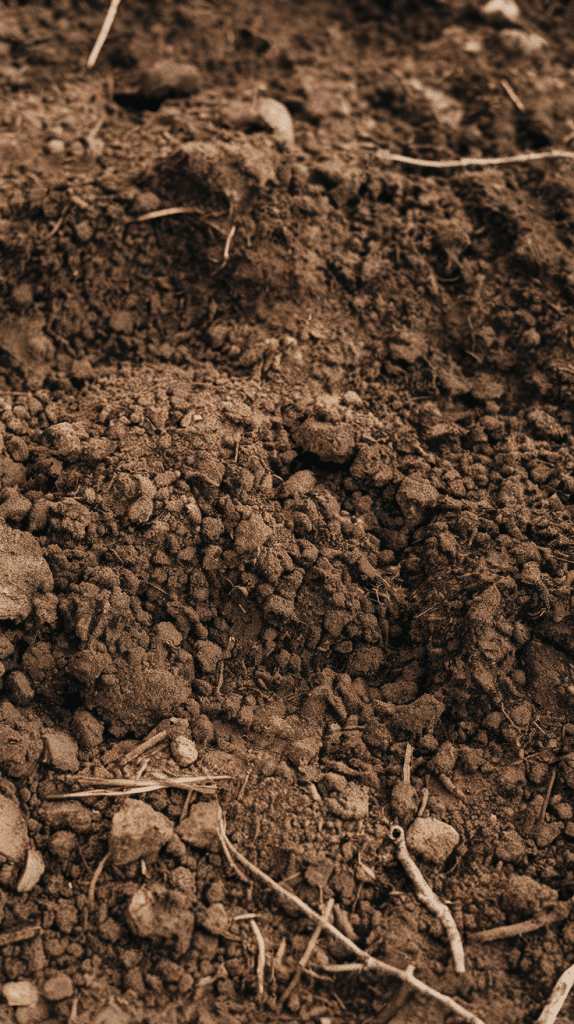
Playing Detective with Your Soil’s Structure ????
Getting hands-on with your soil is like being a garden CSI agent! Here’s how to crack the case of your soil’s structure:
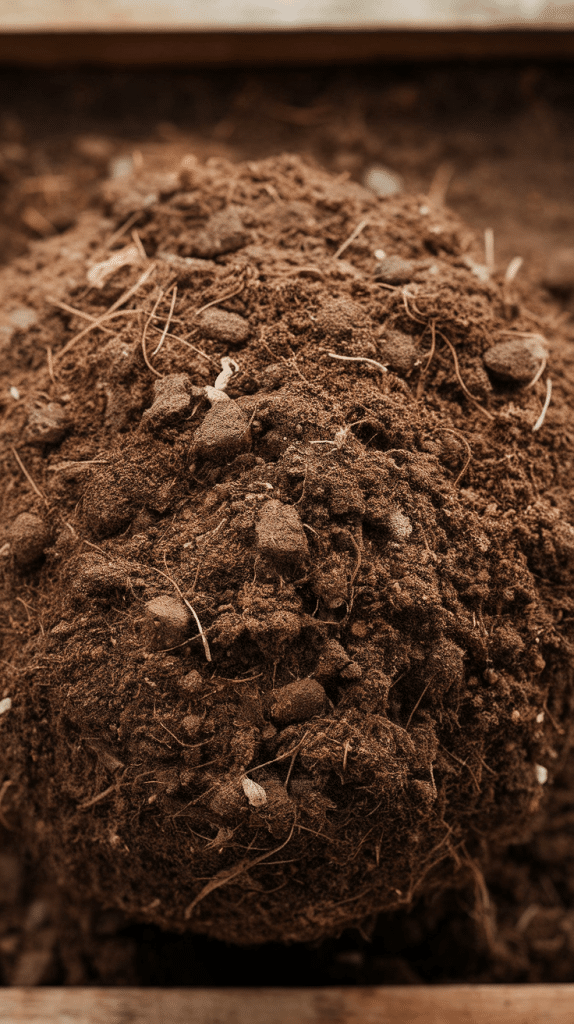
The Squeeze Test:
- Grab a handful of moist soil
- Give it a gentle squeeze
- Let it go – does it hold its shape or crumble? ????
Good soil should feel like a chocolate cake – crumbly but able to hold together. If it’s hard as a rock or falls apart instantly, Houston, we have a problem!
Watch for these red flags:
- Soil that’s hard to dig (hello, compaction!)
- Water pooling on top
- Crusty surface layer
- Plants with shallow roots ????
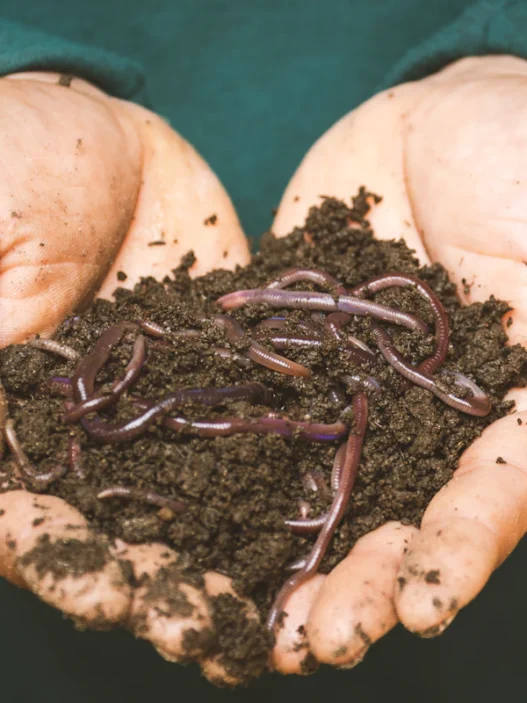
Pro tip: When you find earthworms in your sample, do a little happy dance! These wiggly friends mean your soil is healthy and full of air pockets. No worms? That’s like a party with no guests – something needs to change! ????
Remember: Healthy soil feels light and spongy, like a well-baked brownie. If yours feels more like cement, it’s time for some soil TLC!
Reading Your Soil Test Results Like a Pro ????
Got your test results, but feeling like you’re reading a foreign language? Let’s make those numbers make sense! ????
Here’s what those readings mean:
- pH sweet spot: 6.0-7.0 for most plants
- Nitrogen (N): 20-60 ppm is perfect
- Phosphorus (P): 20-30 ppm hits the mark
- Potassium (K): 35-45 ppm makes plants happy
Think of these ranges like Goldilocks – not too high or low! Your plants are just as picky about their food.
Pro tip: Keep a garden diary of your test results! It’s like tracking your fitness progress but for your soil.
Remember: Good readings + happy plants = garden victory! ????
Spotting Trouble in Your Garden’s Foundation ????
Is your garden giving you the silent treatment? Let’s play plant detective and crack those soil mysteries! Here are the most common soil troubles you might bump into:
Warning Signs to Watch For:
- Stunted plant growth (your plants looking like they hit the pause button)
- Leaf discoloration (yellow, brown, or purple party nobody wanted)
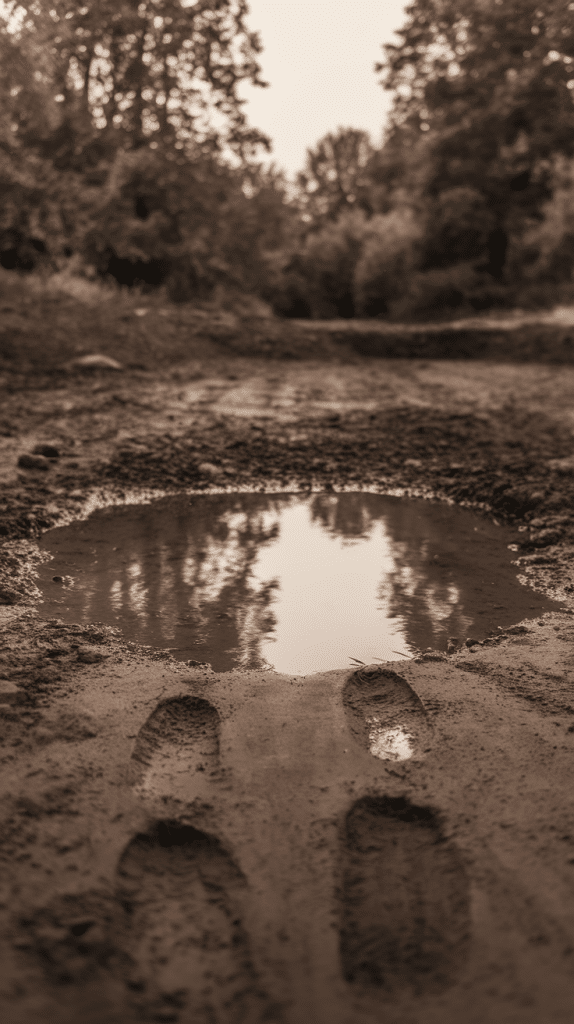
- Water pooling or dry patches
- Plants flopping over like tired toddlers ????
What’s Really Going On:
- Nutrient Hunger Games: When plants show yellow leaves up top, they’re screaming, “More nitrogen, please!”
- pH Problems: Plants refusing to grow? Might be stuck in soil that’s too acidic or alkaline
- Soil Getting Squished: Hard, packed soil means roots can’t breathe (and plants need oxygen, too!)
- Purple tints = Phosphorus is playing hide and seek
- Brown leaf edges = Potassium’s running low
Quick Check Tips:
- Squeeze Test – If the soil feels like a brick, you’ve got compaction
- Water Test – If puddles stick around for hours, drainage needs fixing
- Root Inspection – Short, stubby roots tell us it’s time to loosen things up! ????
Think of these signs as your garden’s way of sending an SOS – catch them early, and fixing them becomes easier! ????
Balancing Your Soil’s pH: The Sweet Spot for Happy Plants ????
Think your garden’s pH is playing hard to get? No worries! Let’s make your soil pH as balanced as a tightrope walker!
Getting your pH right is like being a soil chef:
- For Acidic Soil (pH too low):
- Add garden lime in small portions
- Mix it into the top 6 inches of soil
- Water well after application ????
- For Alkaline Soil (pH too high):
- Sprinkle sulfur (go light!)
- Work it into the soil gently
- Be patient – changes take time
Pro tip: Always test before you treat! Add amendments in baby steps – like seasoning soup, you can add more but can’t take it out! ????
The Golden Rules:
- Apply in spring or fall
- Never mix lime and sulfur
- Wait 3-4 weeks between applications
- Keep testing to track changes
Remember: Most plants love a pH between 6.0-7.0. Get this right, and your plants will do the happy dance! ????
Breaking Up That Hard-Packed Soil: Your Anti-Compaction Playbook! ????
Is your garden soil feeling more like concrete than chocolate cake? Let’s loosen things up! Just like your muscles need stretching, your soil needs room to breathe.
Here’s how to spot compacted soil:
- Plants looking stunted and sad
- Water pools on the surface
- Roots growing sideways instead of down
- Hard-as-rock soil that makes your shovel cry ????
Time to break up that party-pooper soil:
- Use a garden fork to punch holes (think aeration, not anger management!)
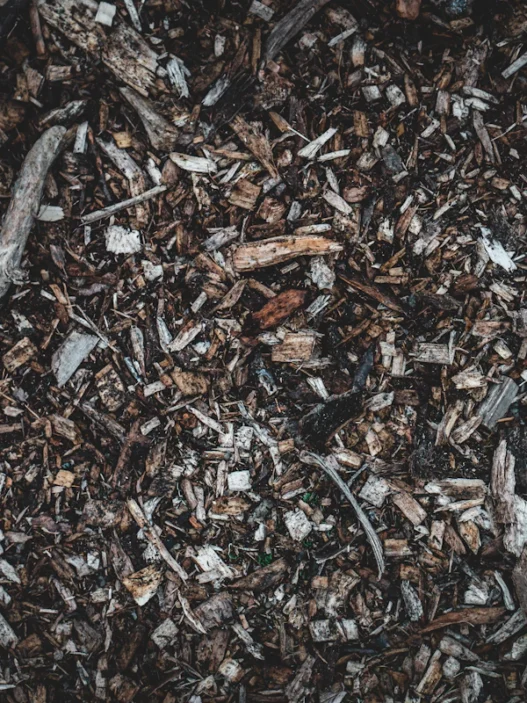
- Add organic matter like leaves and compost
- Let earthworms do their wiggle-dance through your soil ????
Quick fixes for tight soil:
- Never step on wet garden beds (it’s like squishing a wet sponge)
- Create permanent paths between planting areas
- Use raised beds to control foot traffic
- Plant root veggies – they’re nature’s little soil busters!
Remember: Happy soil = happy plants. Give those roots room to party, and your garden will thank you with a bounty of blooms and veggies! ????
Keeping Your Soil Happy: The Long Game for Garden Success! ????
Want your garden to thrive year after year? Let’s establish some soil-care habits that’ll make your plants do the happy dance! Think of it as creating a spa routine for your garden’s foundation.
Here’s your soil-care playlist:
- Plant different crops each season (it’s like crop musical chairs!)
- Tuck your soil in for winter with cover crops
- Go easy on the tilling – less is more!
- Add organic mulch like fallen leaves or straw ????
Keep tabs on your soil’s mood with these check-ups:
- Test pH yearly (spring’s perfect for this!)
- Watch how plants grow
- Look for earthworms (your underground garden team!)
- Notice how water moves through the soil
Pro tip: Start a gardening diary! Track what works and what doesn’t – your future self will high-five you for this. Remember, building healthy soil is a marathon, not a sprint. Give your garden time to build its strength, and it’ll reward you with harvests! ????

When to Call in the Soil Testing Pros! ????
Sometimes, your garden throws you curveballs that DIY tests can’t catch. Here’s when to bring in the lab-coat experts:
Red Flags That Scream “Pro Help Needed”:
- Plants looking sick despite your best care
- Starting a new garden project
- Suspicious soil history (old industrial sites)
- Persistent problems that won’t quit ????
What Pro Tests Offer:
- Super detailed nutrient analysis
- Heavy metal screening
- Exact fertilizer recommendations
- Testing for soil-borne diseases
Pro tip: Find testing labs through:
- Local extension offices
- State agriculture departments
- University soil labs
- Certified testing facilities ????
While home test kits are great for regular check-ups (like taking your temperature), professional tests are like getting a full physical – they catch things you might miss! And hey, when starting a garden or investing in expensive plants, wouldn’t you rather be sure? ????
Pro labs typically charge $20-50 per sample – cheaper than replacing dead plants! Think of it as garden insurance. Your future harvests will thank you! ????
How Often Should You Test Your Soil? ????
Want to keep your garden’s health record up to date? Here’s the scoop on soil test timing! Just like changing your car’s oil, your garden needs regular check-ups too.
The Magic Numbers:
- New gardens: Test before planting
- Established gardens: Every 2-3 years
- Veggie gardens in containers: Yearly tests are best
- Container gardens: Check twice per growing season ????
Your Testing Schedule Might Need Tweaking If:
- You’re growing picky plants (we see you, blueberries!)
- Your soil’s sandy (nutrients wash away faster)
- You notice plant problems
- You’re heavy-handed with fertilizers ????
Pro tip: Mark your calendar for early spring or late fall testing—that’s when your soil is at its most “honest”! Keep those test results in your garden journal like baseball cards—they tell quite a story over time!
Remember: happy soil = happy plants = happy gardener!
Your Soil Testing Journey: The First Step to Garden Greatness
Like a master chef tastes their dishes before serving, a skilled gardener tests their soil before planting. By making soil testing a regular part of your garden routine, you’re not just growing plants but cultivating success from the ground up. Remember, every garden masterpiece starts with understanding what’s happening beneath the surface.
Armed with your new soil testing knowledge, you’re ready to give your plants the five-star treatment they deserve. So grab your testing kit, channel your inner scientist, and get ready to unlock your garden’s full potential. Your plants are about to become the talk of the neighborhood! ????