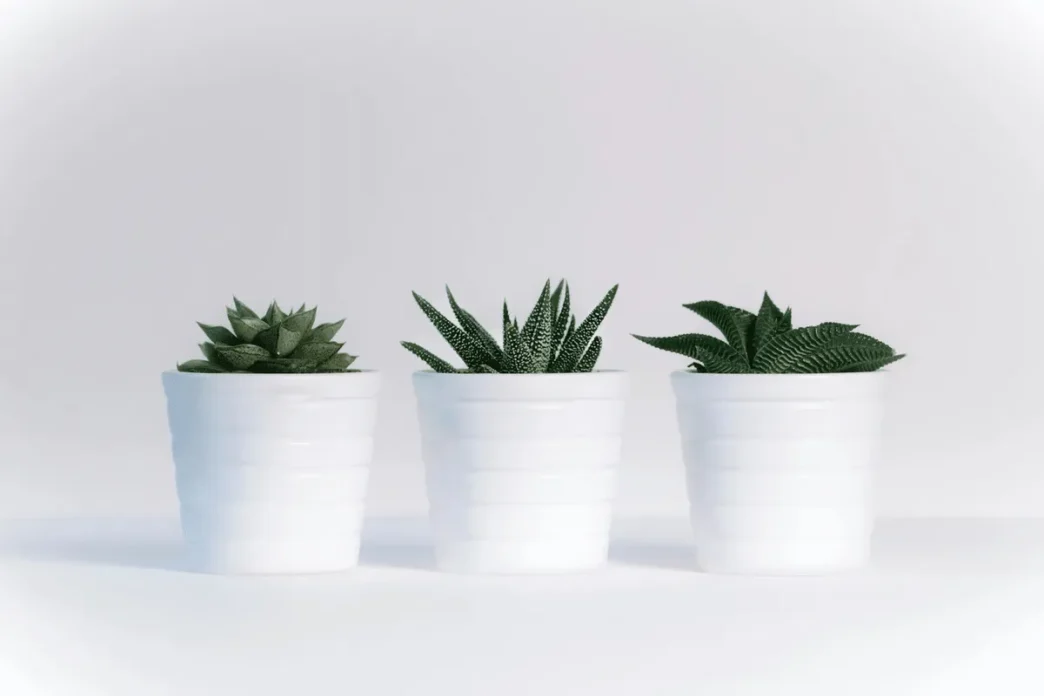
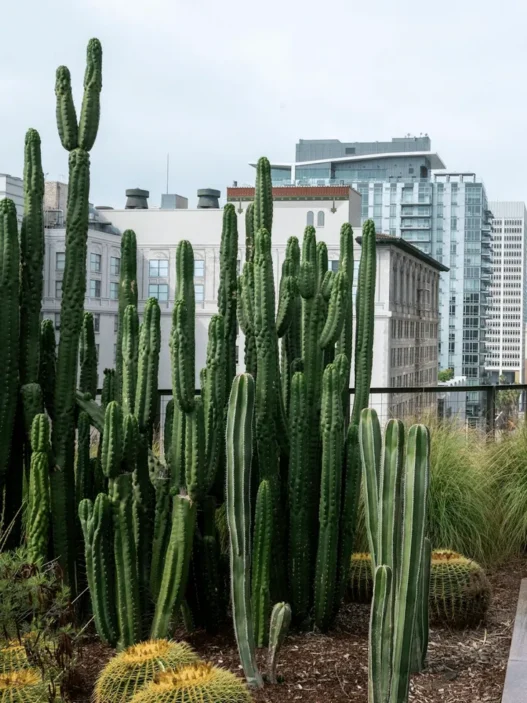
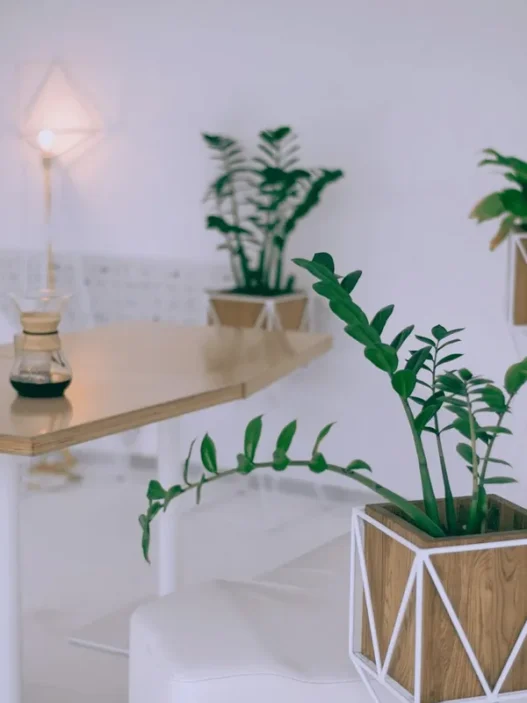
You’re staring at your tiny balcony, surrounded by a sea of concrete and steel. The closest thing to nature is that sad potted plant your aunt gave you last Christmas. But what if I told you that you could turn that uninspiring urban space into a lush, productive garden without breaking your back or the bank?
Welcome to the world of no-dig gardening, where you can grow your own food and create a green oasis right in the heart of the city.
Why No-Dig Gardening is Your New Best Friend
No-dig gardening is exactly what it sounds like – gardening without digging. It’s perfect for urban dwellers because:
- It’s easy on your back (and your downstairs neighbors)
- It works in small spaces like balconies and patios
- It’s low-maintenance and perfect for busy city life
- It’s eco-friendly and mimics nature’s own processes
So, ready to get your hands dirty (but not too dirty)? Here’s how to set up your own no-dig garden in your urban space.
Step 1: Location, Location, Location
First things first, you need to find the perfect spot for your garden. Look for an area that gets at least 6 hours of sunlight a day. Don’t worry if you don’t have a south-facing balcony – many plants can thrive in partial shade too.
Take a good look at your space. Do you have a balcony, a small patio, or just a windowsill? Each of these can be transformed into a productive garden with the right approach. Remember, no space is too small for a no-dig garden!

Step 2: Gather Your Materials
Now that you’ve found your spot, it’s time to gather your materials. Here’s what you’ll need:
- Containers: Raised beds, large pots, or even repurposed items like wooden crates or old bathtubs work great.
- Cardboard: This will form the base of your no-dig garden.
- Compost: The secret sauce of no-dig gardening.
- Organic matter: Leaves, straw, or well-rotted manure.
- Seeds or seedlings: Choose plants that suit your space and climate.
Don’t run to the store just yet – many of these materials can be sourced for free or cheap. Check local cafes for cardboard boxes, ask your neighbors for fallen leaves, or see if any local farms offer free manure.
Step 3: Layer It Up
Now comes the fun part – creating your no-dig garden bed. Think of it like making a lasagna, but instead of pasta and cheese, you’re layering organic materials. Here’s how:
- Start with your container. If you’re using a raised bed on a hard surface, make sure there are drainage holes.
- Line the bottom with cardboard. This acts as a weed barrier and will break down over time, adding nutrients to your soil.
- Add a layer of organic matter like leaves or straw. This helps with drainage and adds nutrients as it decomposes.
- Top it off with a thick layer of compost. This is where your plants will grow, so make it at least 4-6 inches deep.
That’s it! No digging, no tilling, no back-breaking labor. Your no-dig garden bed is ready for planting.
Step 4: Choose Your Plants
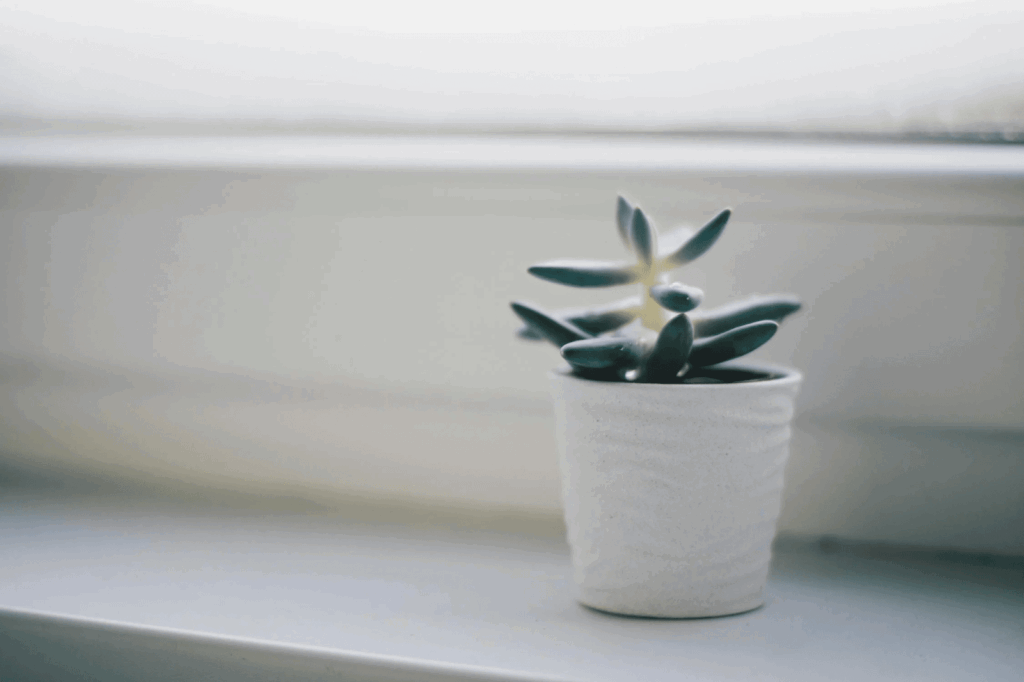
Now comes the exciting part – choosing what to grow! When selecting plants for your urban no-dig garden, consider:
- Space: Choose compact varieties that won’t outgrow your containers.
- Light: Match plants to the amount of sunlight your space receives.
- Climate: Pick plants that thrive in your local weather conditions.
- Your tastes: There’s no point growing vegetables you won’t eat!
Some great options for urban no-dig gardens include:
- Leafy greens like lettuce, spinach, and kale
- Herbs such as basil, mint, and parsley
- Cherry tomatoes and compact pepper varieties
- Root vegetables like radishes and carrots
- Vertical growers like peas and pole beans
Don’t be afraid to mix flowers in with your veggies. They’ll attract pollinators and add a splash of color to your urban oasis.

Step 5: Plant and Water
With your bed prepared and plants chosen, it’s time to get planting. Here’s how:
- For seeds: Make small holes in the compost, drop in your seeds, and gently cover them.
- For seedlings: Make a hole big enough for the root ball, place the plant in, and firm the compost around it.
Water your newly planted garden thoroughly. In the early days, you’ll need to water more frequently to help your plants establish. Once they’re growing strong, you can cut back on watering.
Step 6: Feed Your Garden
One of the beauties of no-dig gardening is that it mimics nature’s own processes. As the layers in your garden bed break down, they release nutrients for your plants. But to keep your garden thriving, you’ll want to add some extra food now and then.
Here’s how to feed your no-dig garden:
- Compost tea: Steep compost in water for a few days, then use the liquid to water your plants.
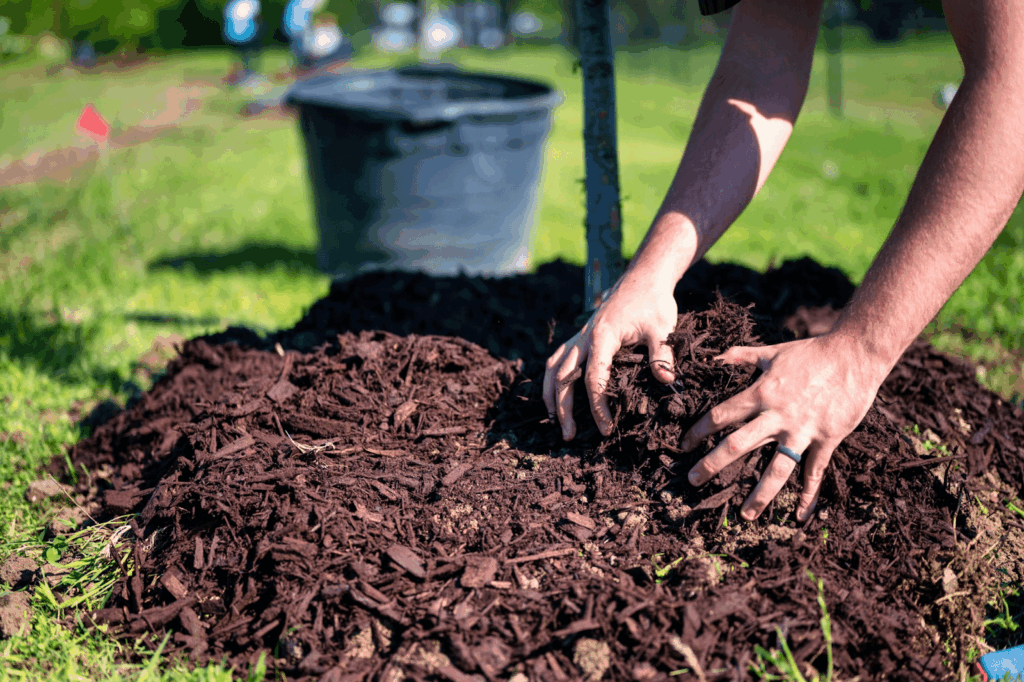
- Mulch: Add a layer of organic mulch like straw or leaf mold around your plants.
- Worm castings: These are packed with nutrients and great for container gardens.
Remember, a little goes a long way. Over-fertilizing can harm your plants and the environment, so start with small amounts and observe how your plants respond.
Step 7: Maintain and Enjoy
Congratulations! You’ve set up your no-dig urban garden. Now comes the best part – watching it grow and enjoying the fruits (and vegetables) of your labor.
Here are some tips for maintaining your garden:
- Keep an eye out for pests. In an urban environment, you might not have as many issues with pests, but it’s still good to check regularly.
- Prune and harvest regularly. This encourages more growth and keeps your plants productive.
- Rotate your crops. Even in a small space, try to avoid planting the same thing in the same spot year after year.
- Add more compost as needed. As your plants grow and the original layers break down, you might need to top up your beds with fresh compost.
Remember, gardening is a learning process. Don’t be discouraged if things don’t work out perfectly the first time. Each season brings new lessons and opportunities to improve.
Step 8: Expand Your Urban Jungle
Once you’ve got the hang of your first no-dig garden, why stop there? Look for other spaces you can transform:
- Vertical spaces: Use trellises or hanging baskets to grow upwards.
- Windowsills: Perfect for herbs and microgreens.
- Community spaces: See if there are any community gardens in your area where you can apply your no-dig skills.
The more you grow, the more you’ll want to grow!

Step 9: Share the Bounty
One of the best things about urban gardening is the community it can create. As your garden flourishes, you might find yourself with more produce than you can eat. Why not share with your neighbors? You could even start a produce swap in your building or neighborhood.
Sharing your harvest is a great way to connect with others, reduce food waste, and spread the joy of homegrown food. Plus, who knows? You might inspire others to start their own urban gardens!
Step 10: Keep Learning and Experimenting
The world of no-dig gardening is always evolving, with new techniques and ideas emerging all the time. Keep yourself inspired by:
- Joining online gardening communities
- Attending local gardening workshops or classes
- Experimenting with new plants and growing methods
- Keeping a garden journal to track what works (and what doesn’t)
Remember, every garden is unique, and what works for one person might not work for another. The key is to keep trying, learning, and growing.
Your Urban Oasis Awaits
You’ve done it! You’ve learned how to transform your urban space into a thriving no-dig garden. From that sad potted plant to a bounty of fresh herbs, vegetables, and flowers, you’ve created your own little piece of nature in the heart of the city.
No-dig gardening isn’t just about growing food – it’s about connecting with nature, reducing your environmental impact, and creating a more sustainable way of living in the city. So what are you waiting for? Your urban oasis is just a few layers of compost away!


