


Did you know herbs can lose up to 87% of their essential oils within the first hour after improper harvesting? That’s like watching your garden’s flavor potential vanish faster than a plate of cookies at a kids’ party! Whether you’re a seasoned gardener or just starting your herb adventure, mastering the art of harvesting and storing these aromatic treasures is the secret sauce to year-round culinary magic.
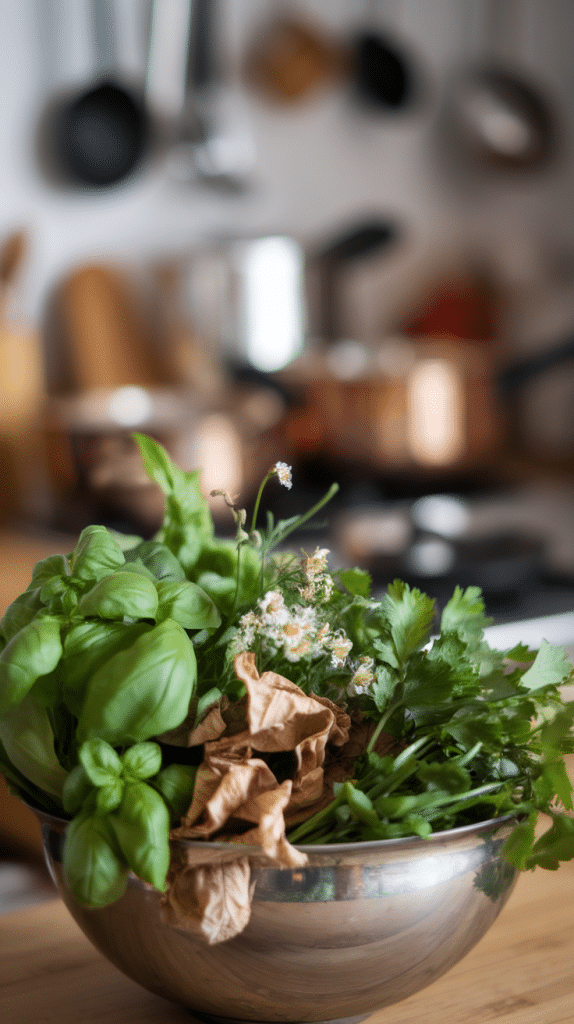
Think of your herb garden as nature’s flavor factory, where each leaf is a tiny powerhouse of taste and nutrition just waiting to transform your cooking. But here’s the catch – without proper harvesting and storage techniques, those precious plants can go from fabulous to forgotten faster than you can say “wilted basil.” Let’s unlock the secrets to keeping your herby friends fresh, flavorful, and ready for action! ????
The Sweet Science of Herb Handling ????
Think of your herbs like tiny flavor factories – each leaf packed with aromatic oils and good-for-you compounds just waiting to make your dishes pop! But here’s the thing: one wrong snip or storage slip-up and those precious plant powerhouses lose their magic faster than you can say “wilted basil.”
When you harvest and preserve herbs the right way, you’re not just saving money (goodbye, sad grocery store herbs!) – you’re keeping all those tasty oils and beneficial properties exactly where they belong. Like a master chef guards their secret recipes, proper handling guards your herbs’ flavor and punch.
Let’s get real about the consequences of herb mishaps: Ever grabbed a handful of limp parsley or opened your spice drawer to find dusty, flavor-free oregano? That’s what happens when herbs aren’t shown the TLC they deserve. Proper care means your herbs stay fresh and fabulous, ready to jazz up any dish at a moment’s notice! ????
And here’s a money-saving bonus that’ll make your wallet happy: when you store herbs properly, they last way longer. That means less food waste (Mother Earth says thanks!) and more herbs on hand for cooking adventures. Think of it as giving your herbs a cozy little spa retreat – they’ll reward you with better flavor and more nutritional goodness in every bite!
When Should You Pick Those Pretty Plants? ⏰
Timing is everything in the herb garden, folks! Let’s talk about when to snatch those leafy lovelies for maximum flavor power.
Annual herbs (think basil and dill) are at their tastiest right before they start flowering. That’s when they’re like little flavor bombs, ready to rock your recipes! For these one-season wonders, keep an eye out for those flower buds – once you spot them, it’s harvesting party time! ????
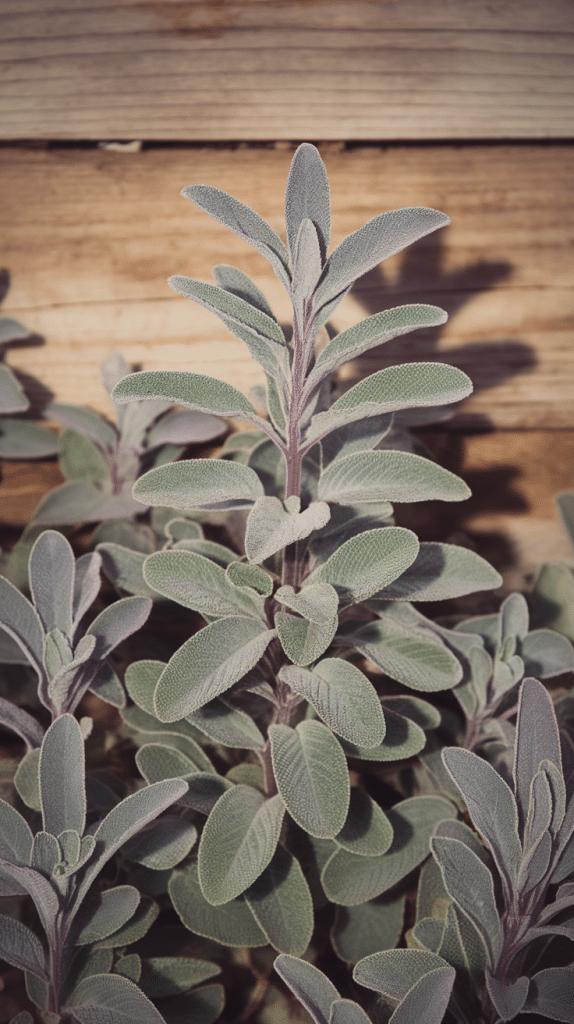
For perennial herbs (like sage and thyme), the morning is your best friend. Wait until the dew dries off, but before the sun turns up the heat. That’s when their essential oils are most concentrated—and trust us, you want those oils!
Here’s a pro move: Look at your plant’s growth before snipping. Is there enough foliage to keep the plant happy? Your herbs need leaves to photosynthesize (a fancy word for making their own food), so don’t get too scissors-happy! Think of it like giving your plant a haircut—you want it styled, not scalped.
Remember this golden rule: the early bird catches the best herbs! Morning harvesting (between 8 and 10 AM) gives you the most flavorful results. Plus, your plants are perky and hydrated, making them perfect for picking!
Tool Time: Your Herb Harvesting Kit ????️
Ready to play garden doctor? Let’s set up your essential harvesting tools!
First, you’ll need sharp, clean scissors or pruning shears – they’re like the scalpels of the garden world. Dull blades bruise your precious plants, and nobody wants that! It is like getting a clean haircut versus a rough chop with safety scissors. ????
Garden gloves are your trusty sidekicks, protecting your hands from sticky resins and surprise thorns (we’re looking at you, rosemary!). Choose thin, flexible ones that let you feel what you’re doing – like a chef’s perfect knife grip!
For collecting your herby bounty, grab some roomy baskets or containers with good airflow. Those fancy plastic grocery store containers? Leave ’em in the kitchen! Your freshly picked herbs need to breathe like they’re at a yoga retreat.
Here’s a neat trick: match your tools to your herbs! Little snips work great for tender plants like parsley and cilantro, while bigger shears are perfect for woody stems like sage and thyme. It’s like having the right-sized fork for your salad—it just makes sense!
Keep your tools clean and sharp (a quick wipe with rubbing alcohol does wonders), and store them in a dry place.
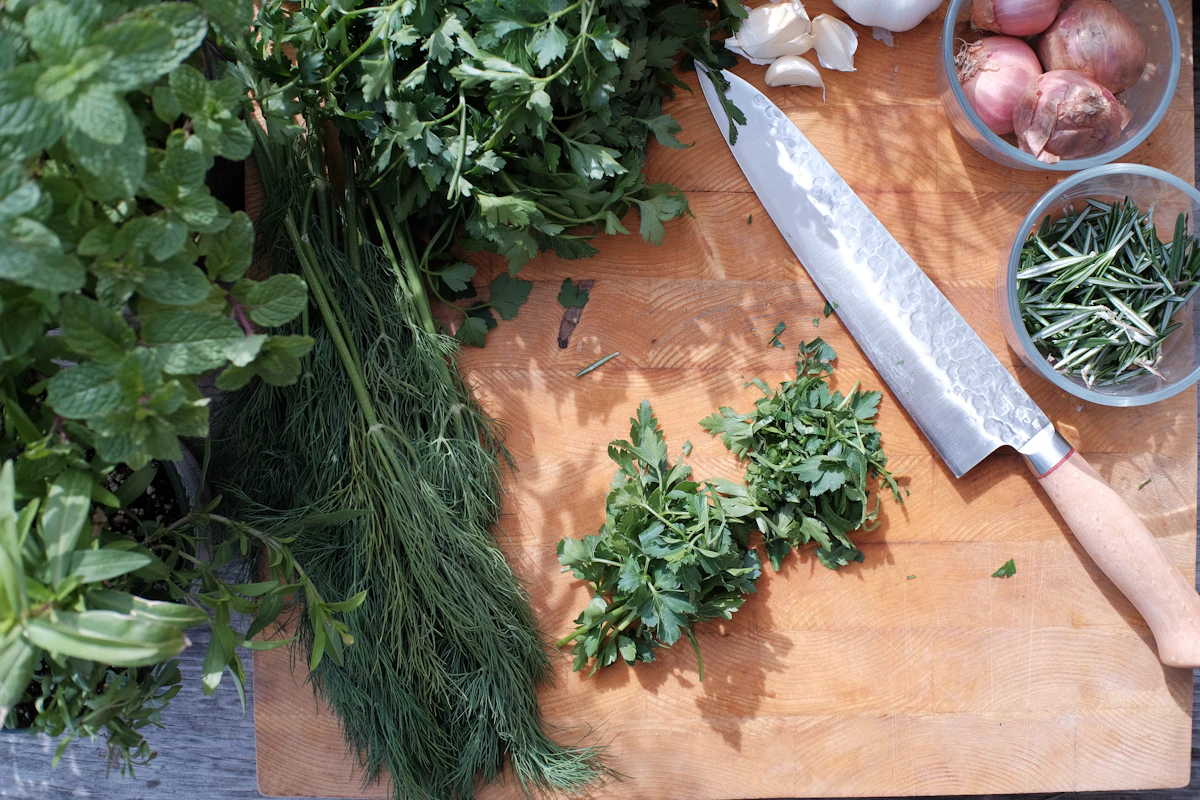
How to Harvest Every Type of Herb Like a Pro ????
Let’s break down herb harvesting by type – because not all plants need the same snip-and-clip treatment!
Leafy Herbs (Like Basil and Parsley)
Make your cuts about two-thirds down the stem, right above where leaves meet (plant parents call these “leaf nodes”). This sweet spot makes your herbs bush out instead of growing tall and leggy. Remember: clean cuts are key – no tearing or pulling!
Woody Herbs (Think Rosemary and Sage)
These tough cookies need a different approach. Cut stems no more than one-third of the plant’s total height. Think of it as giving your herb a light trim rather than a buzz cut. Make your cuts just above a set of leaves to keep the plant looking neat and tidy.
Flowering Herbs (Hello, Lavender!)
Catch these beauties right when their buds start to open—that’s prime time for both flavor and looks. Harvesting herbs properly means snipping the stems low, but leaving enough greenery so your plant can bounce back for another round.
Here’s the golden rule for ALL herbs: never take more than one-third of the plant at once. It’s like leaving money in your savings account – you need something left to grow on! Keep your pruners clean between cuts (a quick wipe with rubbing alcohol works wonders), and your herbs will thank you with months of tasty harvests. ????
Squeaky Clean Herbs: The Post-Harvest Spa Treatment ????
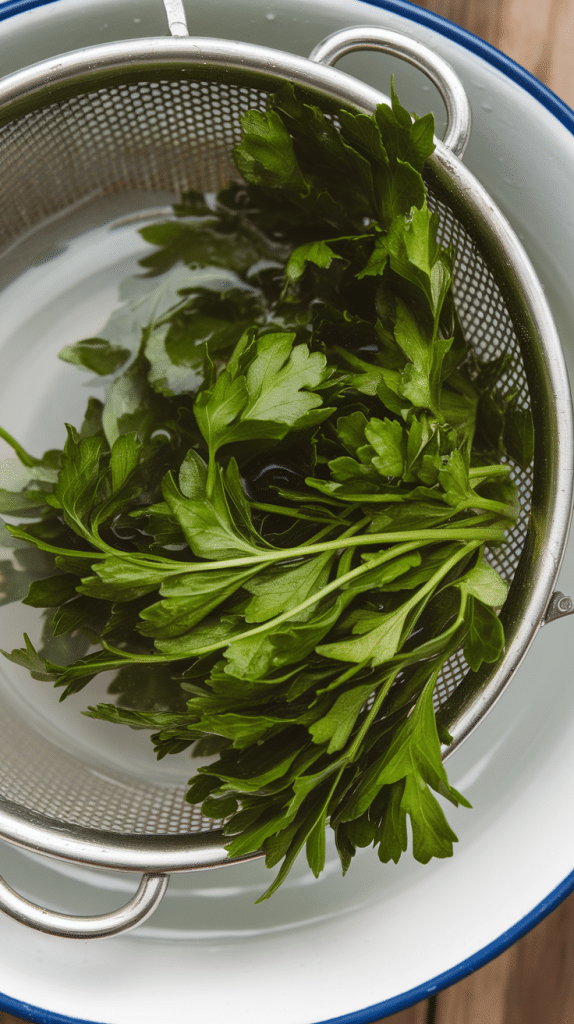
Have you harvested your herbs? It’s time for their spa day! Start with a gentle rinse under cool water—think of it as giving your herbs a refreshing shower, not a pressure wash! A colander makes this job super easy, letting you wash away dirt and uninvited garden guests while keeping those precious leaves intact.
For the fluffier herbs (looking at you, parsley!), try the salad spinner method. It’s like a merry-go-round for your herbs, leaving them perfectly dry. No spinner? No problem! Pat them gently with paper towels like you’re wrapping a tiny green baby.
Before these clean cuties head to storage, play plant detective. Remove any leaves that look sketchy – yellow, brown, or mushy parts have got to go! It’s like removing one bad apple to save the bunch. Your herbs should look Instagram-worthy before they hit the fridge.
Here’s the golden ticket to herb success: make sure they’re completely dry before storing. Moisture is like a party guest who overstays their welcome, leading to mold and mushiness. Give your herbs plenty of air-dry time on a clean kitchen towel, turning them occasionally for even drying. Think of it as their post-spa relaxation session! ????
Remember: clean herbs = happy cooking = tastier meals!
P.S. Want your herbs to last even longer? Skip washing until right before you use them – unless they’re muddy or need a serious cleanup! ????
Keep Those Herbs Fresh: Short-Term Storage Solutions ????
Got a bundle of fresh herbs ready for action? Let’s talk about keeping them perky and flavorful in your fridge! Here are three foolproof methods that’ll make your herbs last longer than a Netflix binge session.
The Bouquet Method
Pop your herbs upright in a glass with an inch of water, just like flowers! Cover them loosely with a plastic bag (think shower cap for your herbs ????). This creates a mini greenhouse that keeps moisture in while letting your herbs breathe.
Pro tip: Change the water every couple of days, just like you would for fresh flowers.
The Spa Wrap Treatment
Dampen a paper towel (not soaking wet – think wrung-out washcloth), and wrap your herbs like they’re heading to the spa. Tuck this herby burrito into a plastic bag, leaving one end slightly open. Store in your crisper drawer, and your herbs will stay fresh and happy for up to a week!
The Stand-Up Strategy
For sturdy herbs like parsley and cilantro, try this: Trim the stems like you’re prepping flowers, then stand them up in a container with an inch of water. Place in the fridge, but skip the plastic bag – these tough cookies need air circulation! Simply change the water when it gets cloudy.
Remember: Different herbs like different treatments – basil hates the cold, so keep it on your counter! ????
Long-Term Storage: Make Your Herbs Last! ????
The Art of Air-Drying
String small bundles of clean herbs upside down in a warm, dry spot (think spare room or kitchen corner). Pop a paper bag with holes around it to catch falling leaves—it’s like a safety net for your herby friends! After 1-2 weeks, your herbs should crumble easily. That’s your sign they’re ready for storage!
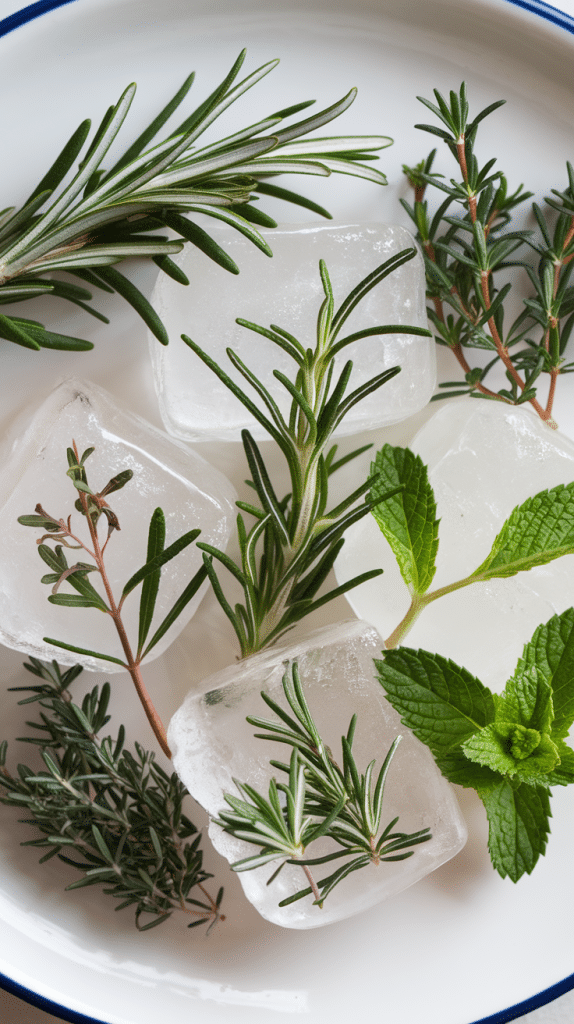
Freezer Magic ❄️
Want instant fresh herb flavor? Chop up your clean herbs and pack them into ice cube trays. Add a splash of water or olive oil, then pop them in the freezer. Once frozen, transfer to freezer bags – label them clearly (unless you enjoy herb roulette!). These are perfect for soups and sauces!
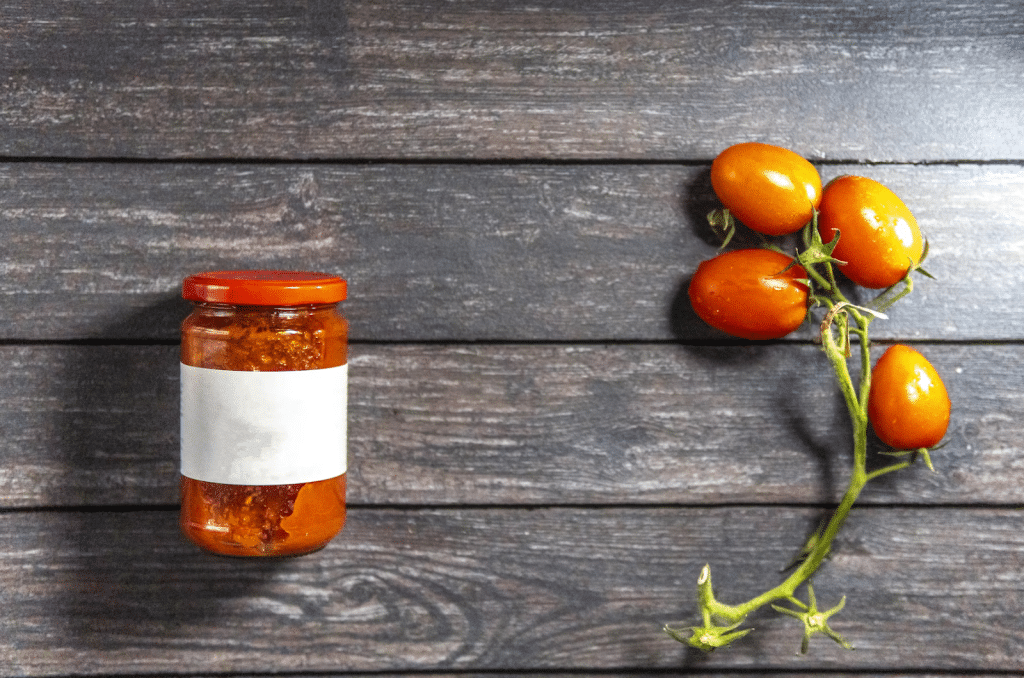
Oil and Vinegar Preserves
Clean, dry herbs + oil or vinegar = flavor magic in a jar! Fill clean glass bottles with herbs, then cover them completely with your chosen liquid. Keep oils in the fridge and use them within a month. Vinegar preserves can hang out in your pantry for up to 6 months. Think of it as making your own fancy restaurant-style infusions!
Pro tip: Mix different herbs to create your own signature blends. Rosemary and thyme are besties in oil, while tarragon loves a vinegar bath! ????
Remember: Always use squeaky-clean jars and completely dry herbs to avoid unwanted science experiments in your storage containers!
P.S. Dark glass containers are like sunglasses for your herbs – they help protect all those good flavors from light damage! ????
Package It Pretty: Storage Solutions That Work! ????

Think of storing herbs like tucking them into bed – they need the right pajamas and a cozy place to rest! Let’s get those green goodies properly packed and labeled.
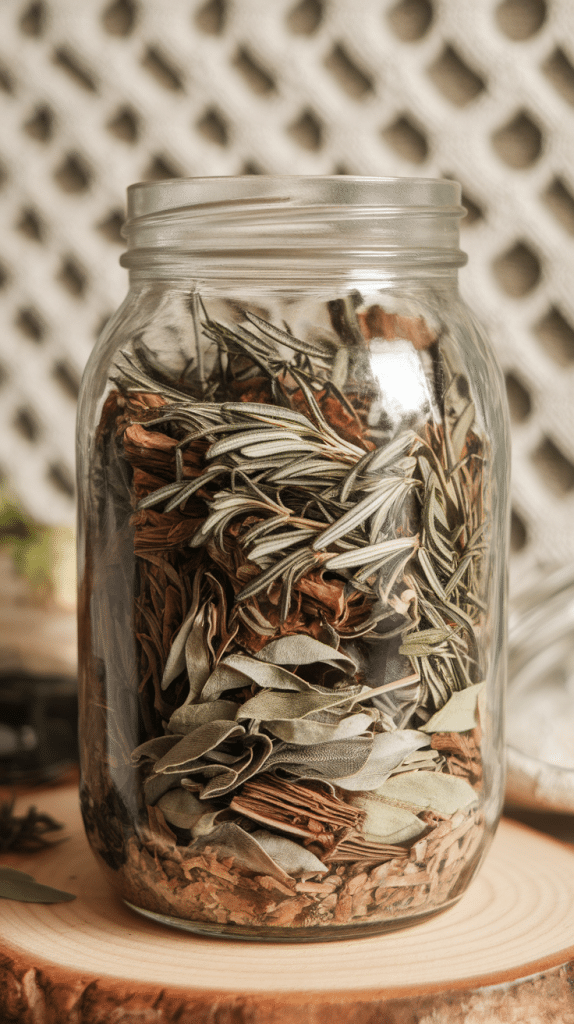
Container Choices
Glass jars are your BFFs here – they’re like little herb hotels! Mason jars work great for dried herbs, while dark amber glass keeps light-sensitive varieties happy. For frozen herbs, grab some herbs in freezer-grade bags or containers that seal tight (no one likes freezer burn!).
Label Like You Mean It ????️
Channel your inner organization guru and grab those labels! Write down:
- Herb name (obvious but essential!)
- Harvest date (when did you snip?)
- Storage date (when did you pack?)
- Use-by date (when should you say goodbye?)
Pro tip: Taking a quick photo on your phone of the fresh herb helps you identify dried ones later—they can look pretty similar when crispy!
Storage Smarts
Group similar herbs together like they’re at a plant party! Keep cooking buddies (think Italian herbs) in the same zone. Stack containers by height, with labels facing forward—it’s like creating an herb library!
Remember those little silica gel packets from your new shoes? They’re perfect for keeping dried herbs moisture-free! Pop one in each container (don’t eat it! ????).
P.S. Clear containers look pretty, but dark ones protect your herbs better – beauty isn’t everything in the storage world! ????
Herbs Need Happy Homes: Perfect Storage Conditions ????️
For Your Dried Herbs
Want your dried herbs to stay tasty? Keep them in a cool, dark spot where the temperature is between 60-70°F—think kitchen cabinet away from the stove. Humidity is the sneaky villain here, so aim for 30-40% moisture in the air. Too humid, and your herbs might start growing things you didn’t plant!
Pop a moisture-absorbing packet in each container (like those little silica gel friends from your new shoes). They’re like tiny bodyguards keeping dampness at bay! ????
For Your Frozen Herbs
Your freezer needs to be as cold as a penguin’s party—0°F or below. Keep those temperatures steady! Temperature swings are like roller coasters for your herbs and not the fun kind. Store herbs away from the door where temperatures stay more constant.
Smart Storage Systems ????
Arrange your herbs like books in a library – alphabetically or by how often you grab them. Cooking Italian tonight? Keep all those Mediterranean buddies together! Use clear containers in the freezer so you can spot what you need without playing freeze-tag with your fingers.
Pro tip: Keep a “use first” shelf in your pantry for older herbs like grocery stores rotate their stock. And remember – an organized herb collection is a happy herb collection! ????
Also, those adhesive pantry labels aren’t just for show—they help you track what’s what without playing “Guess that herb”!
Fun Fact: Your nose knows! Give dried herbs a quick sniff test every few months. No aroma? Time to say goodbye! ????
When Good Herbs Go Bad: Spotting Spoilage ????
Keep those herb-loving eyes peeled for these warning signs that your green friends have gone to the dark side:
Color Changes
Fresh herbs should look vibrant and, well, fresh! If your leafy pals turn yellow, brown, or black, they tell you it’s time to say goodbye. Think of it like a traffic light—green means go, and any other color means stop!
The Sniff Test ????
Your nose knows! Give those herbs a quick whiff – they should smell like their usual wonderful selves. Getting musty vibes or a funky smell? That’s your cue to harvest and preserve your herbs correctly next time! For dried herbs, no smell usually means no flavor – it’s time to replace them.
Texture Troubles
Dried herbs should crumble easily and not feel sticky or clumpy. Fresh herbs gone slimy? That’s a hard no! And if you spot any fuzzy patches (hello, unwanted mold!), those herbs need to head straight to the compost bin.
How often should you play Herb Inspector? Check fresh herbs every few days and dried ones every few months. For frozen herbs, watch for freezer burn or ice crystals—they’re like tiny warning flags!
When it’s time to say farewell, toss those herbs in your compost pile – they’ll help grow next season’s garden! No compost? Garden waste bins love herb scraps, too. ????
Time-to-Toss Cheat Sheet:
- Fresh herbs: 5-7 days in the fridge
- Dried herbs: 1-3 years in proper storage
- Frozen herbs: 6 months to 1 year
- Herb-infused oils: 1 month in the fridge
Keep That Flavor Packed In: Storage Success Tips ????
Want your herbs to taste as amazing as the day you picked them? Here’s how to lock in those fantastic flavors!
The Whole Herb Strategy
Store those leafy friends whole—don’t crush or chop until you’re ready to cook! The essential oils stay trapped inside whole leaves way better than in tiny pieces. When you need some herby goodness, crush them right before adding them to your dish. It’s like opening a fresh spice packet every time!
Location, Location, Location!
Keep your herb stash away from anything that might mess with their mojo:
- Heat sources (goodbye stove-side storage!)
- Direct sunlight (herbs aren’t sun worshippers once dried)
- Strong-smelling foods (onions and garlic are NOT herb buddies)
Smart Storage Secrets ????
Pop a piece of paper towel in with fresh herbs to soak up extra moisture—it’s like giving them a tiny dehumidifier! Vacuum sealing is your best friend for preserving herbs. It keeps those pesky ice crystals from crashing your herb party.
Mix and Match Magic
Create flavor-saving herb teams! Rosemary and thyme are storage besties, while basil prefers to fly solo. Think of it like an herb social club—some get along better than others!
Pro tip: Write the storage date on your containers with a marker – no more guessing games about freshness! ????️
Fun Fact: Those little herb cubes you froze? Pop them straight into hot dishes – no thawing needed! ????
Don’t Do This! Common Herb Handling Mistakes ????
Let’s talk about what NOT to do with your herby friends – because sometimes knowing the wrong moves helps you make all the right ones!
The Over-Eager Harvester
Going Edward Scissorhands on your plants? Big mistake! Taking more than 1/3 of the plant at once is like giving your herb a bad haircut – it might not grow back right. Give those plants time to recover between snips.
Tool Troubles ✂️
Are you using those old kitchen scissors that barely cut paper? Your herbs deserve better! Dull or dirty tools bruise stems and spread plant problems faster than garden gossip. Keep those snippers sharp and clean—a quick wipe with rubbing alcohol between plants does wonders!
Storage Slip-Ups
Playing “Guess that herb” in your pantry? Without proper labels, dried oregano and thyme look like twins! Get label-happy with names and dates – you will say thanks in the future! And please, pretty please, don’t store herbs in plastic bags that trap moisture. That’s just asking for the dreaded fuzzy mold monster to move in!
Moisture Mishaps ????
Stuffing wet herbs in containers is a one-way ticket to slime town! Pat those leaves dry like they’re precious little gems before storage. And for dried herbs, any hint of moisture means trouble—keep those silica gel packets handy!
Pro tip: Store herbs whole and crush just before using – pre-crushed leaves lose flavor faster than ice cream melts in July! ????
Fun Fact: Most herbs last twice as long when stored properly – that’s money in your pocket and flavor in your food! ????
Making Magic with Stored Herbs in the Kitchen ????♀️
Have a stash of stored herbs ready to rock? Let’s make them sing in your cooking! When switching between dried and fresh herbs, remember this kitchen math: 1 tablespoon fresh = 1 teaspoon dried. Your dried herbs are like flavor concentrates—a little goes a long way!
Dried Herb Tricks ????
Give those dried herbs a wake-up call before adding them to cold dishes! A quick soak in warm water (about 10 minutes) will restore their perky personality. For hot dishes, toss them in early—they need time to release all their tasty goodness into your food.
Fresh-Frozen Fun
Those herb ice cubes you made? Pop them straight into simmering soups or sauces – no thawing needed! For frozen herb leaves, crumble them while they’re frozen to sprinkle herby magic over your dishes.
Mix and Match Magic ????
Create your own signature blends! Try:
- Italian Dreams: Basil + oregano + thyme
- Provence Party: Lavender + rosemary + sage
- Tea Time: Mint + lemon balm + chamomile
Pro tip: Keep a “house blend” shaker with your favorite herb mix ready to go – it’s like having a flavor fairy wand at your fingertips!
Fun Fact: Rubbing dried herbs between your palms before adding them to food wakes up their essential oils – it’s like giving them a tiny massage! ✨
P.S. Add fresh or frozen herbs at the end of cooking to keep their colors bright and flavors poppin’! ????
Time to Put Your Herb Knowledge to Work! ????
You’re now armed with all the secrets of proper herb handling, from that first-morning snip to long-term storage success. Treating your herbs right isn’t just about saving money or reducing waste – it’s about capturing nature’s flavors at their peak and preserving them for months of culinary adventures.
Whether drying, freezing, or creating your own infused oils, each method is like a different chapter in your herb preservation story. So grab those scissors, line up those jars, and get ready to become the herb whisperer your garden (and kitchen) has been waiting for. Your future dishes will thank you!